Simple Pipeline
This example demonstrates the creation of a very simple pipeline to get familiar with SDL’s data pipeline engine and drag-and-drop pipeline UI.
Overview
In this example, you’ll learn how to:
-
Create a synthetic stream of ADS-B data
-
Use the Dynamic Python Transformer to apply a simple transformation to the data
-
Inspect streaming datasets in real-time
Prerequisites
Before starting this exercise, ensure you have:
-
An active SDL account with appropriate permissions
-
Access to the
ADS-B GeneratorandDynamic Transformer (Python)transformers (these should be included with your platform)
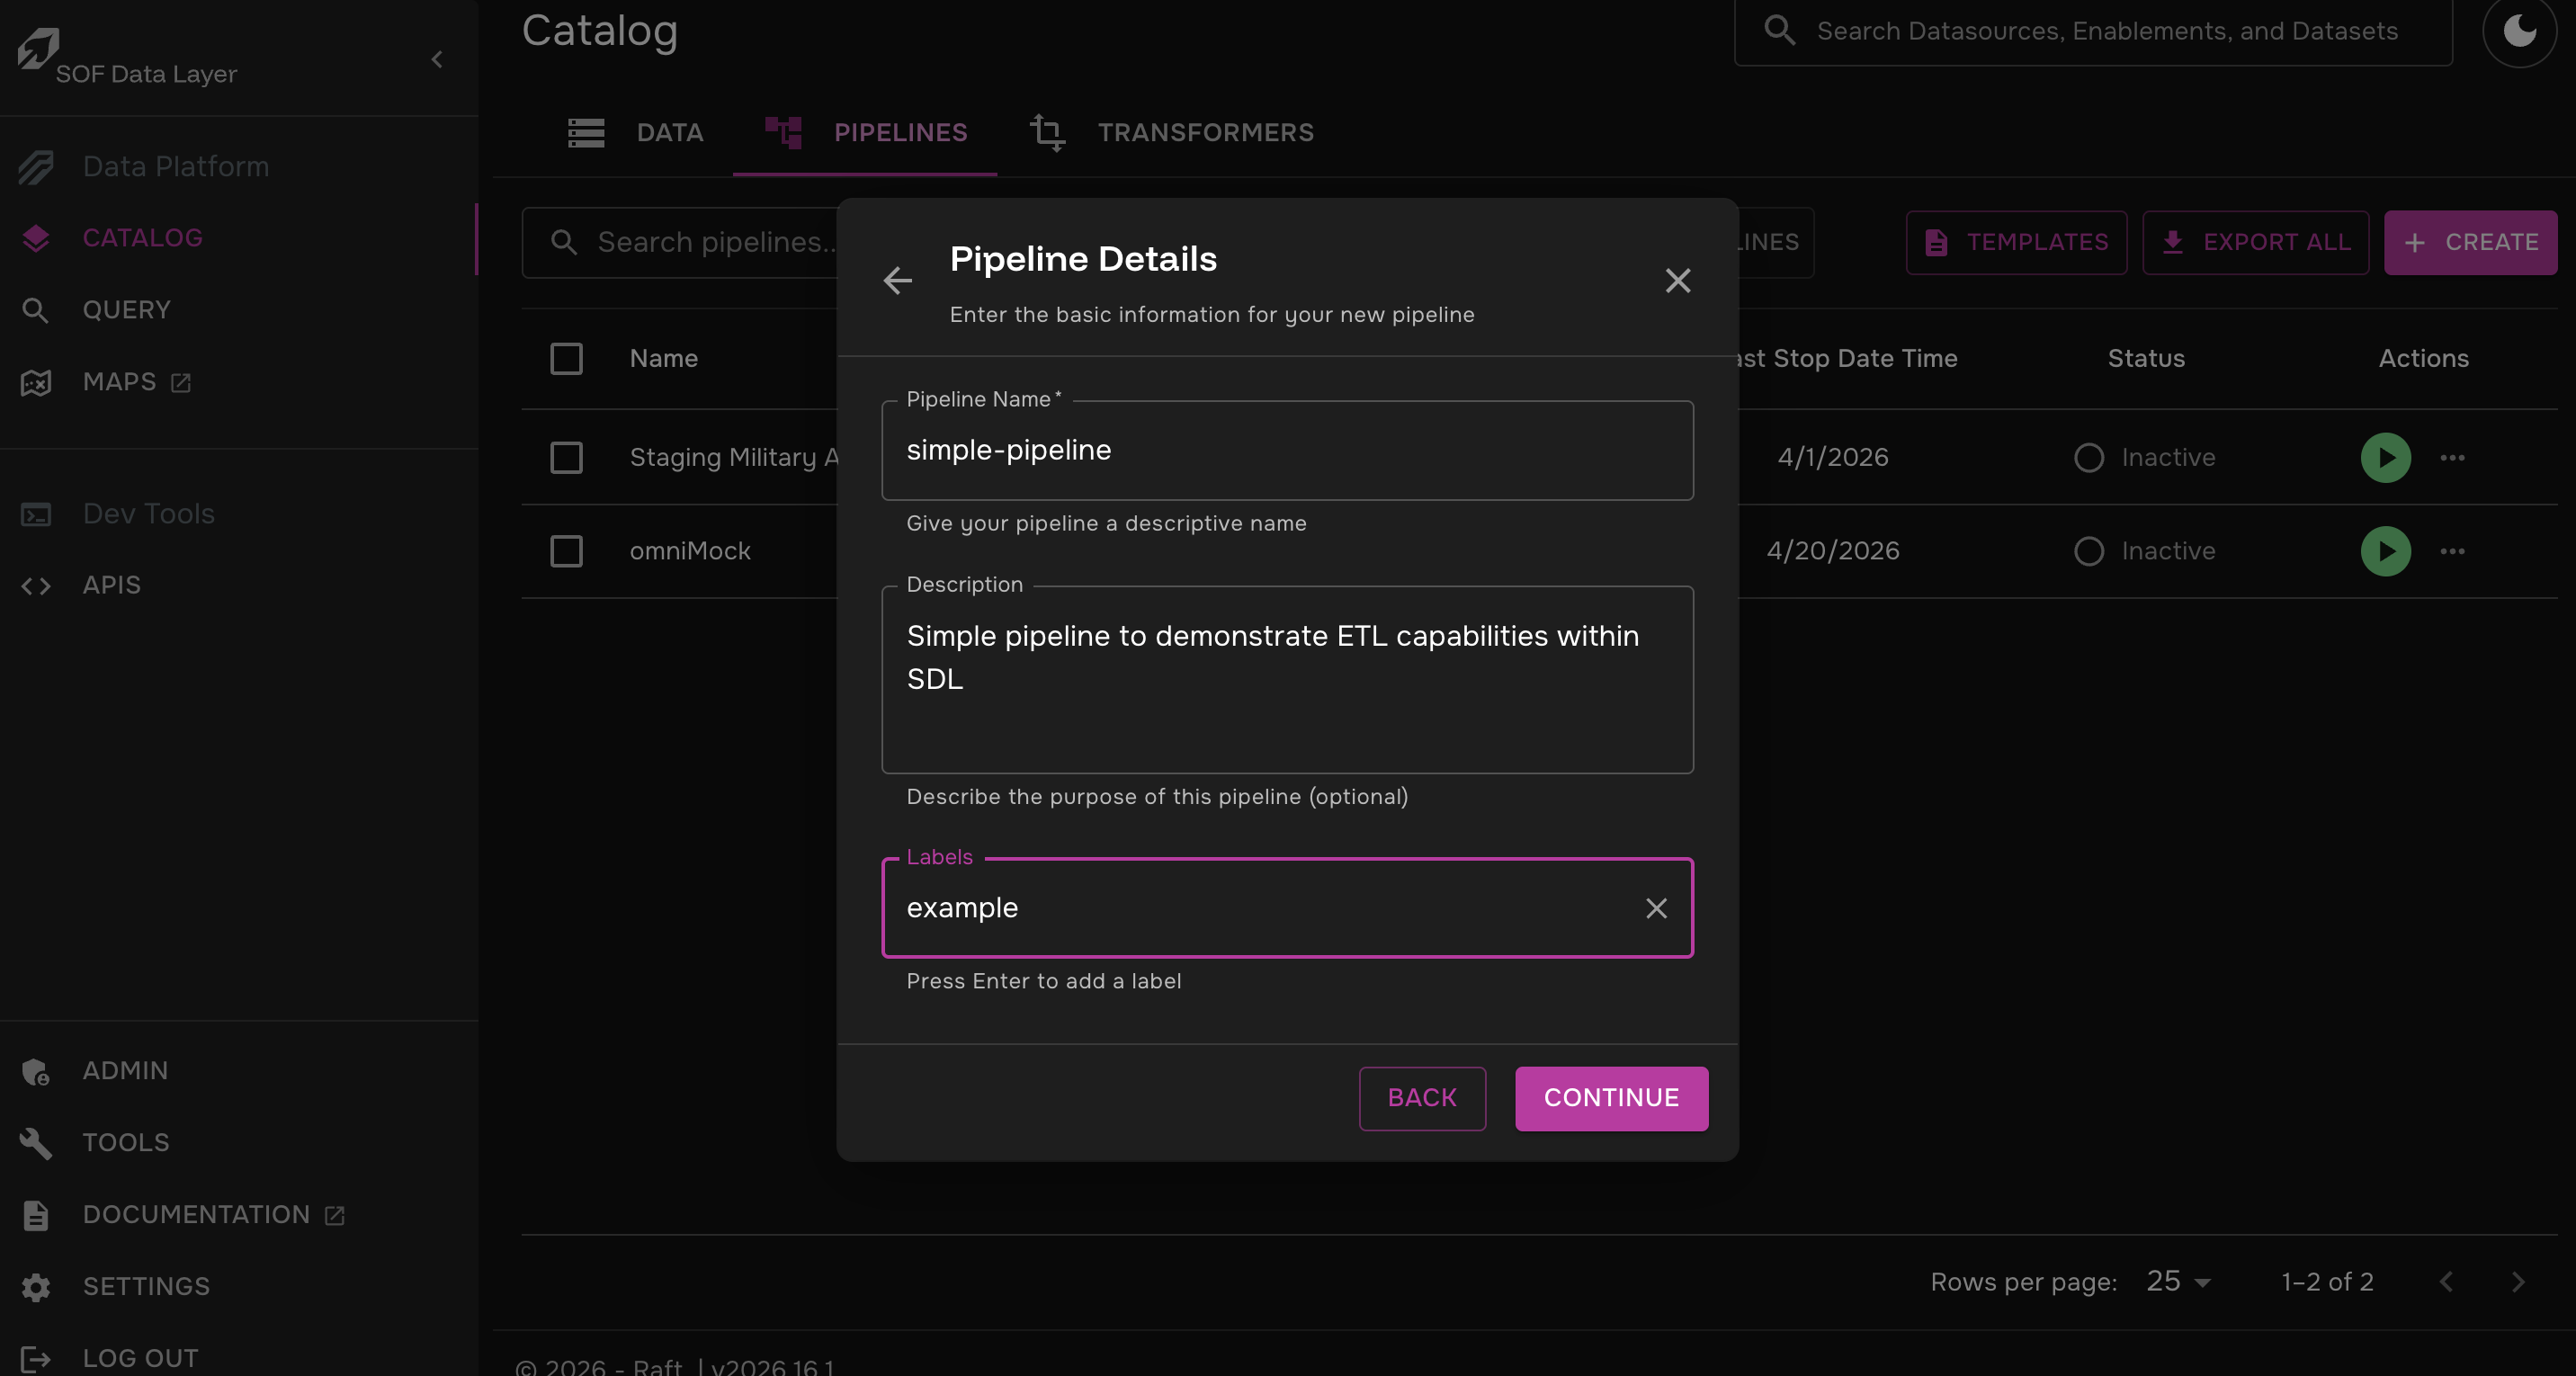
Step 1: Create a Pipeline
-
Click on Catalog > Pipelines > Create
-
Click "Start From Scratch"
-
Fill out the pipeline’s name, description, and tags as you see fit and click "Continue"
Step 2: Add Synthetic Data to the Pipeline
You will be taken to the main pipeline canvas. We will take a closer look at some of these features later, but for now let’s build our pipeline.
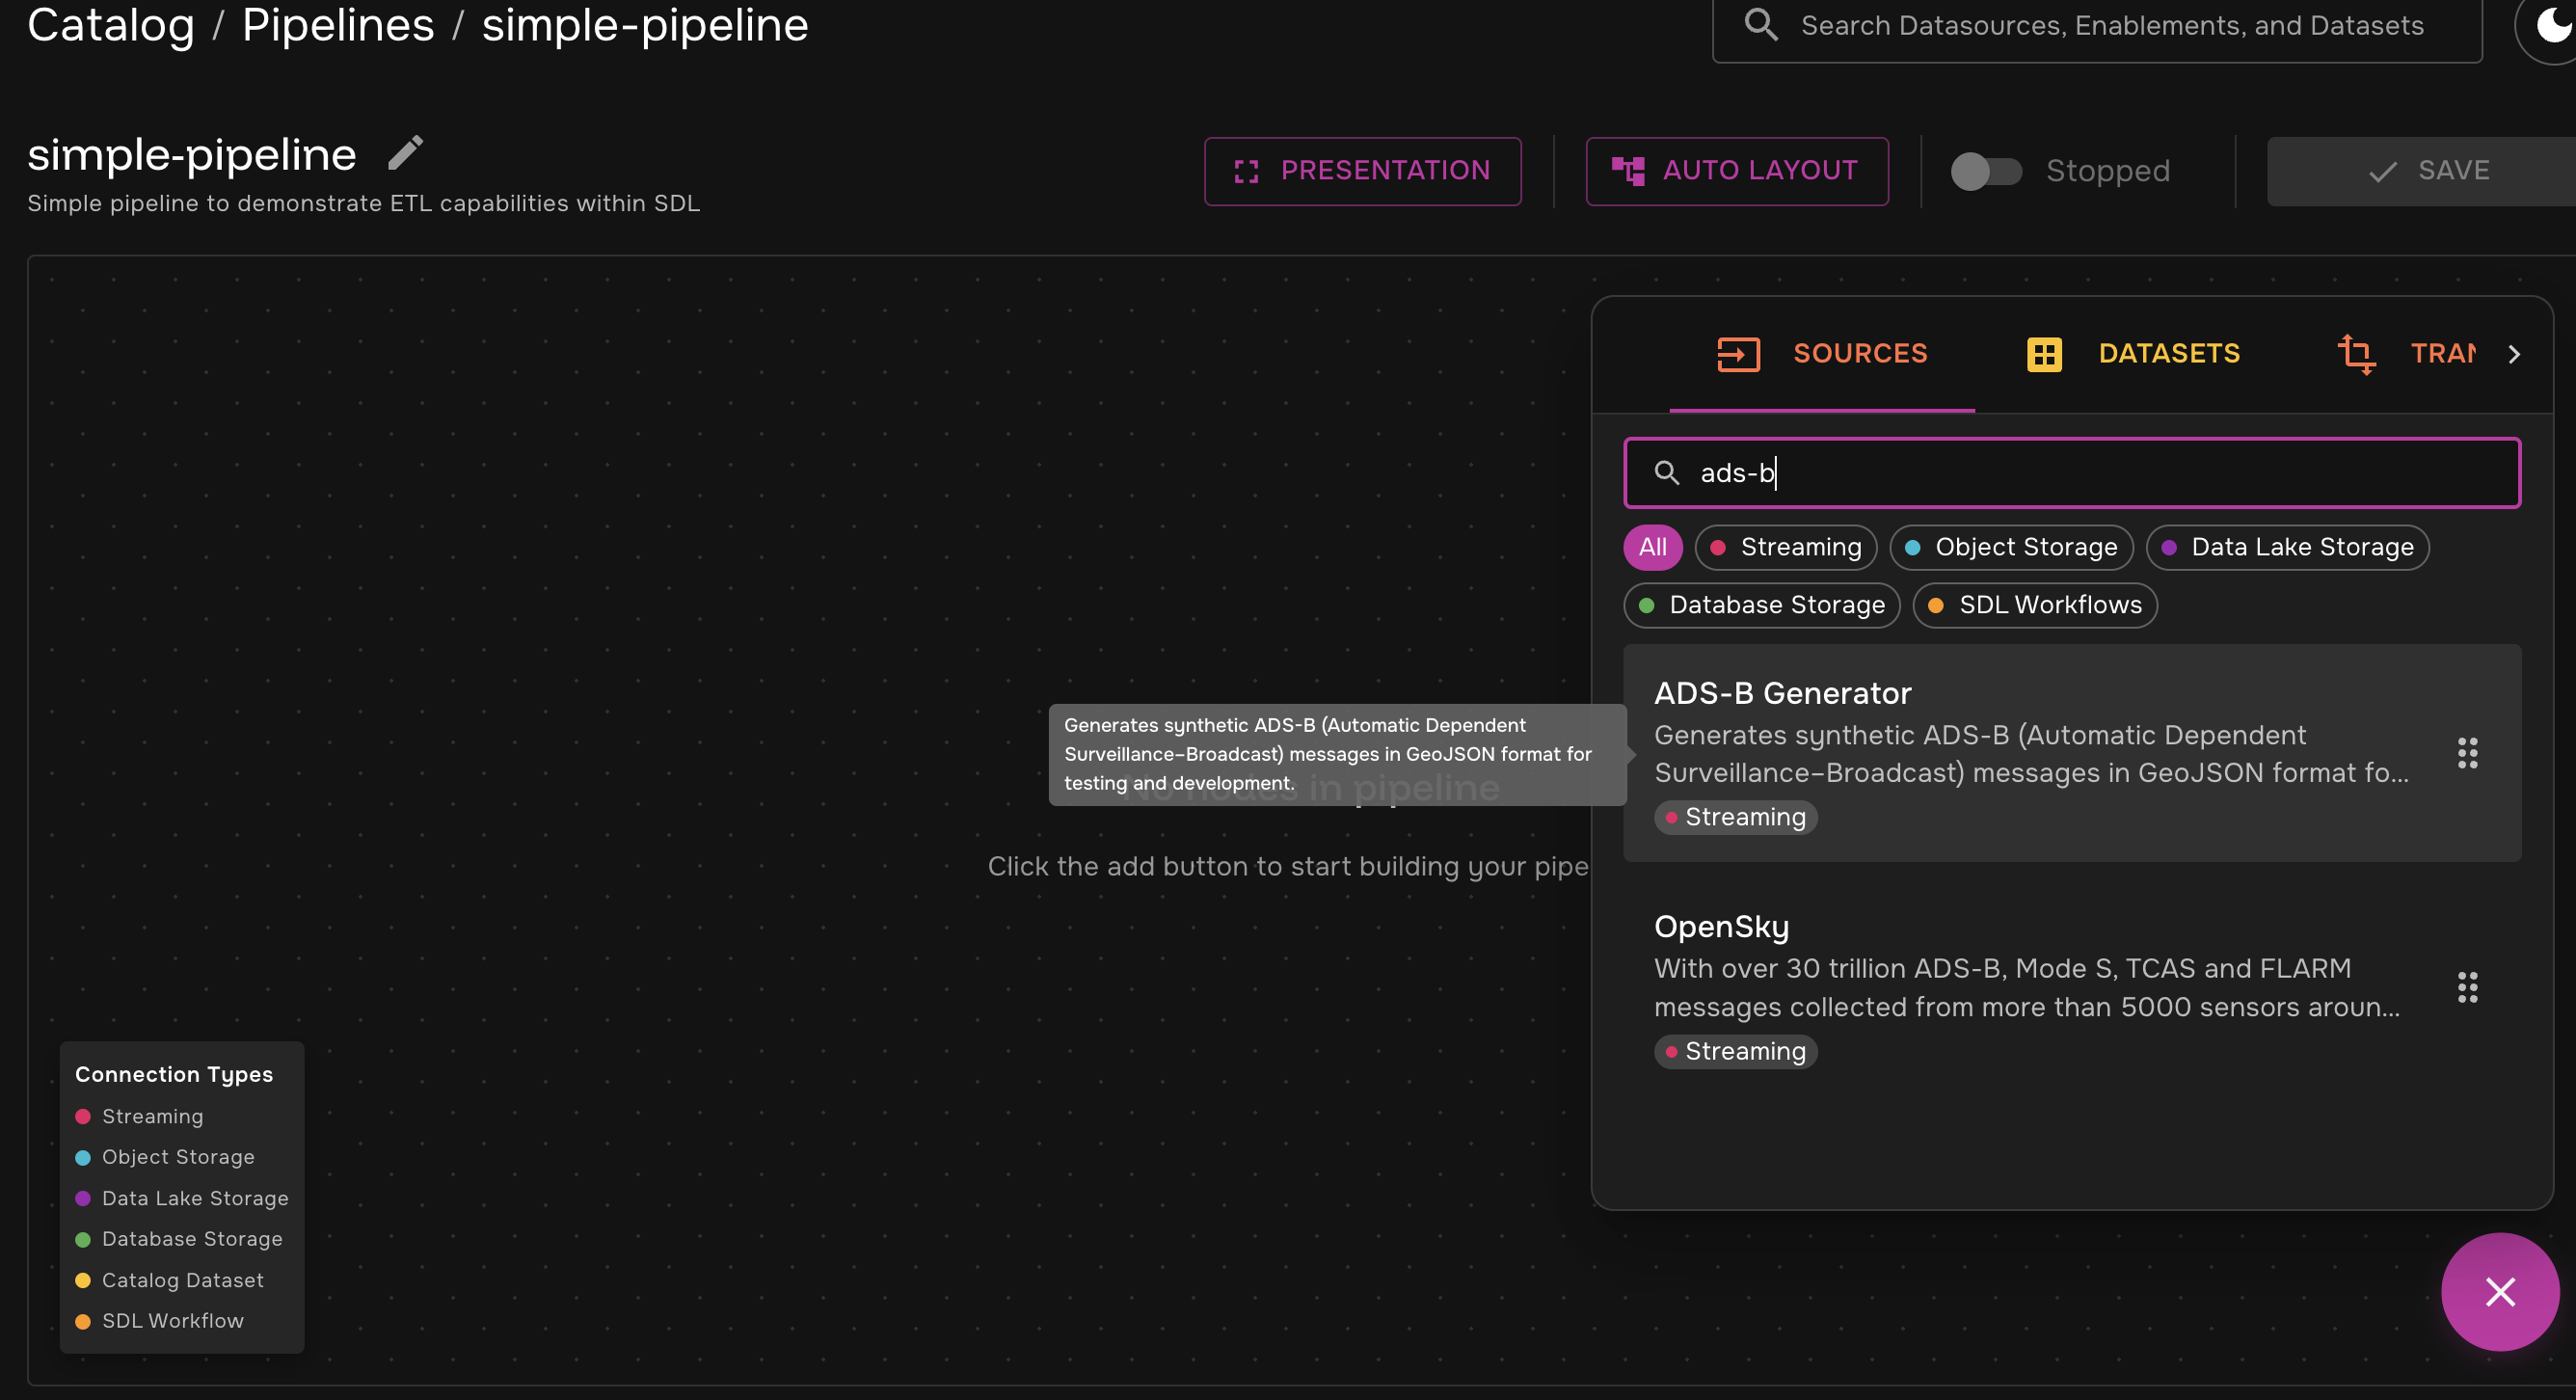
For this example, we will use the built-in ADS-B Generator to generate synthetic data.
| SDL’s data pipelines can extract data from a variety of sources, but for the sake of simplicity in setting up this example, we will have the source data be generated as part of the pipeline. |
-
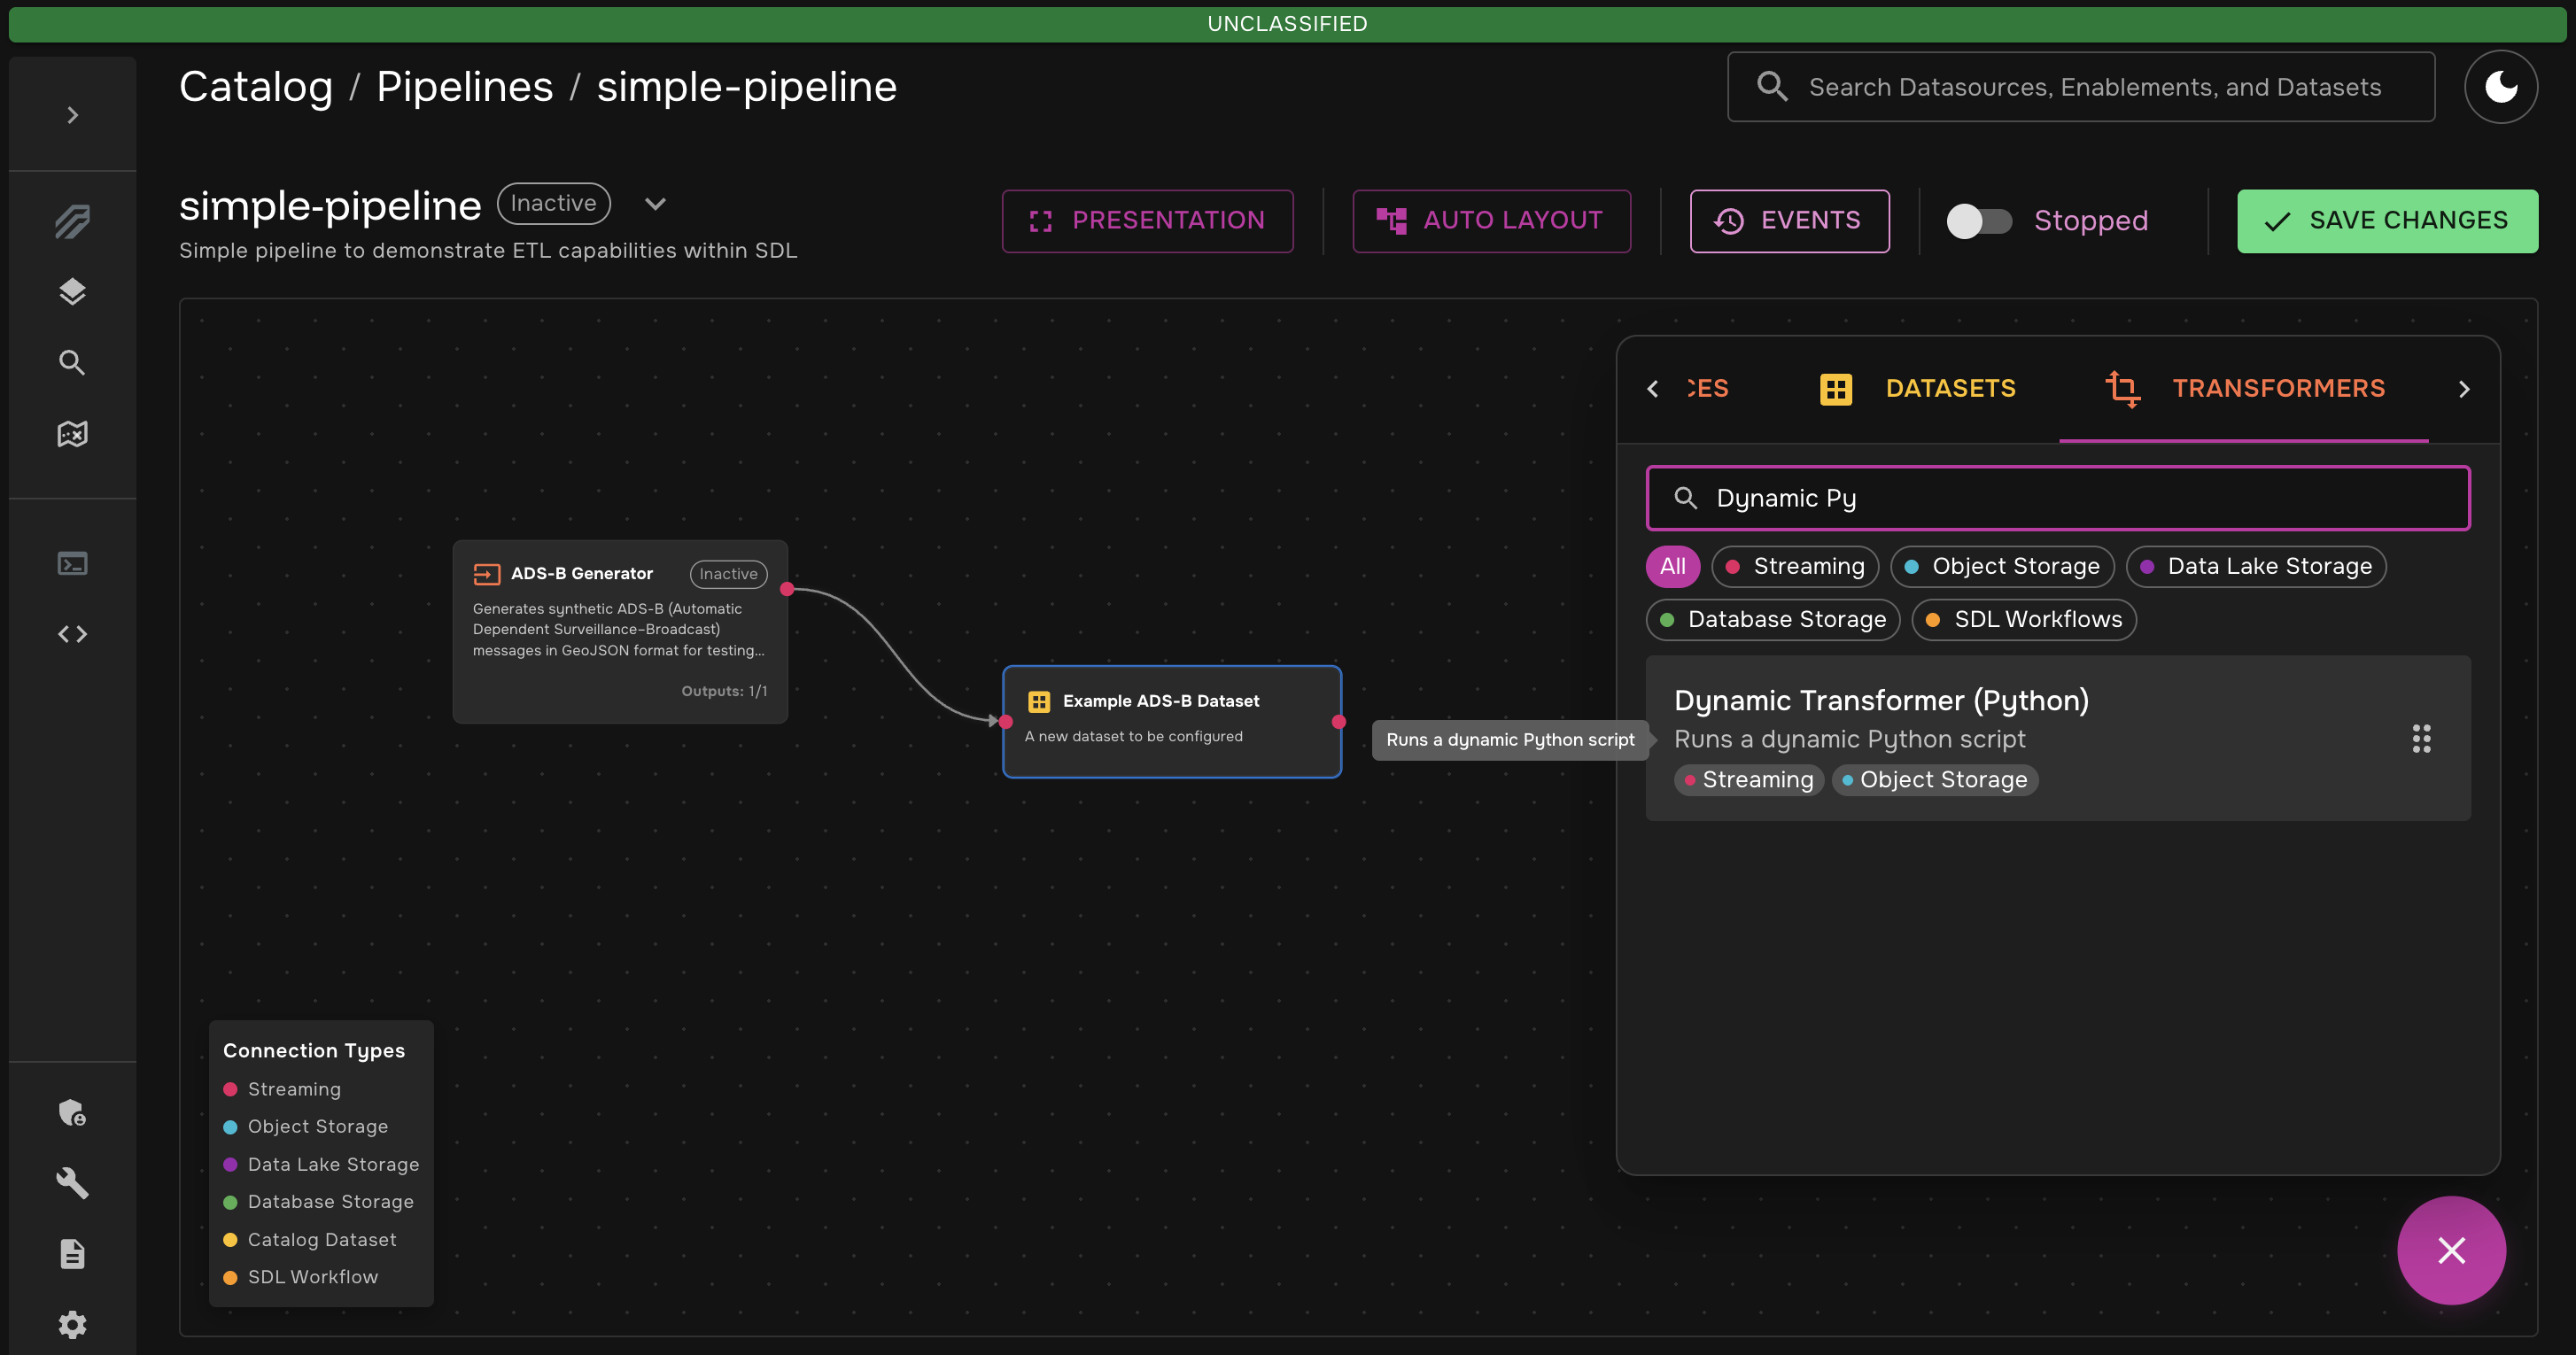
Click the "+" button in the bottom right corner and search for "ADS-B" in the "Sources" tab
-
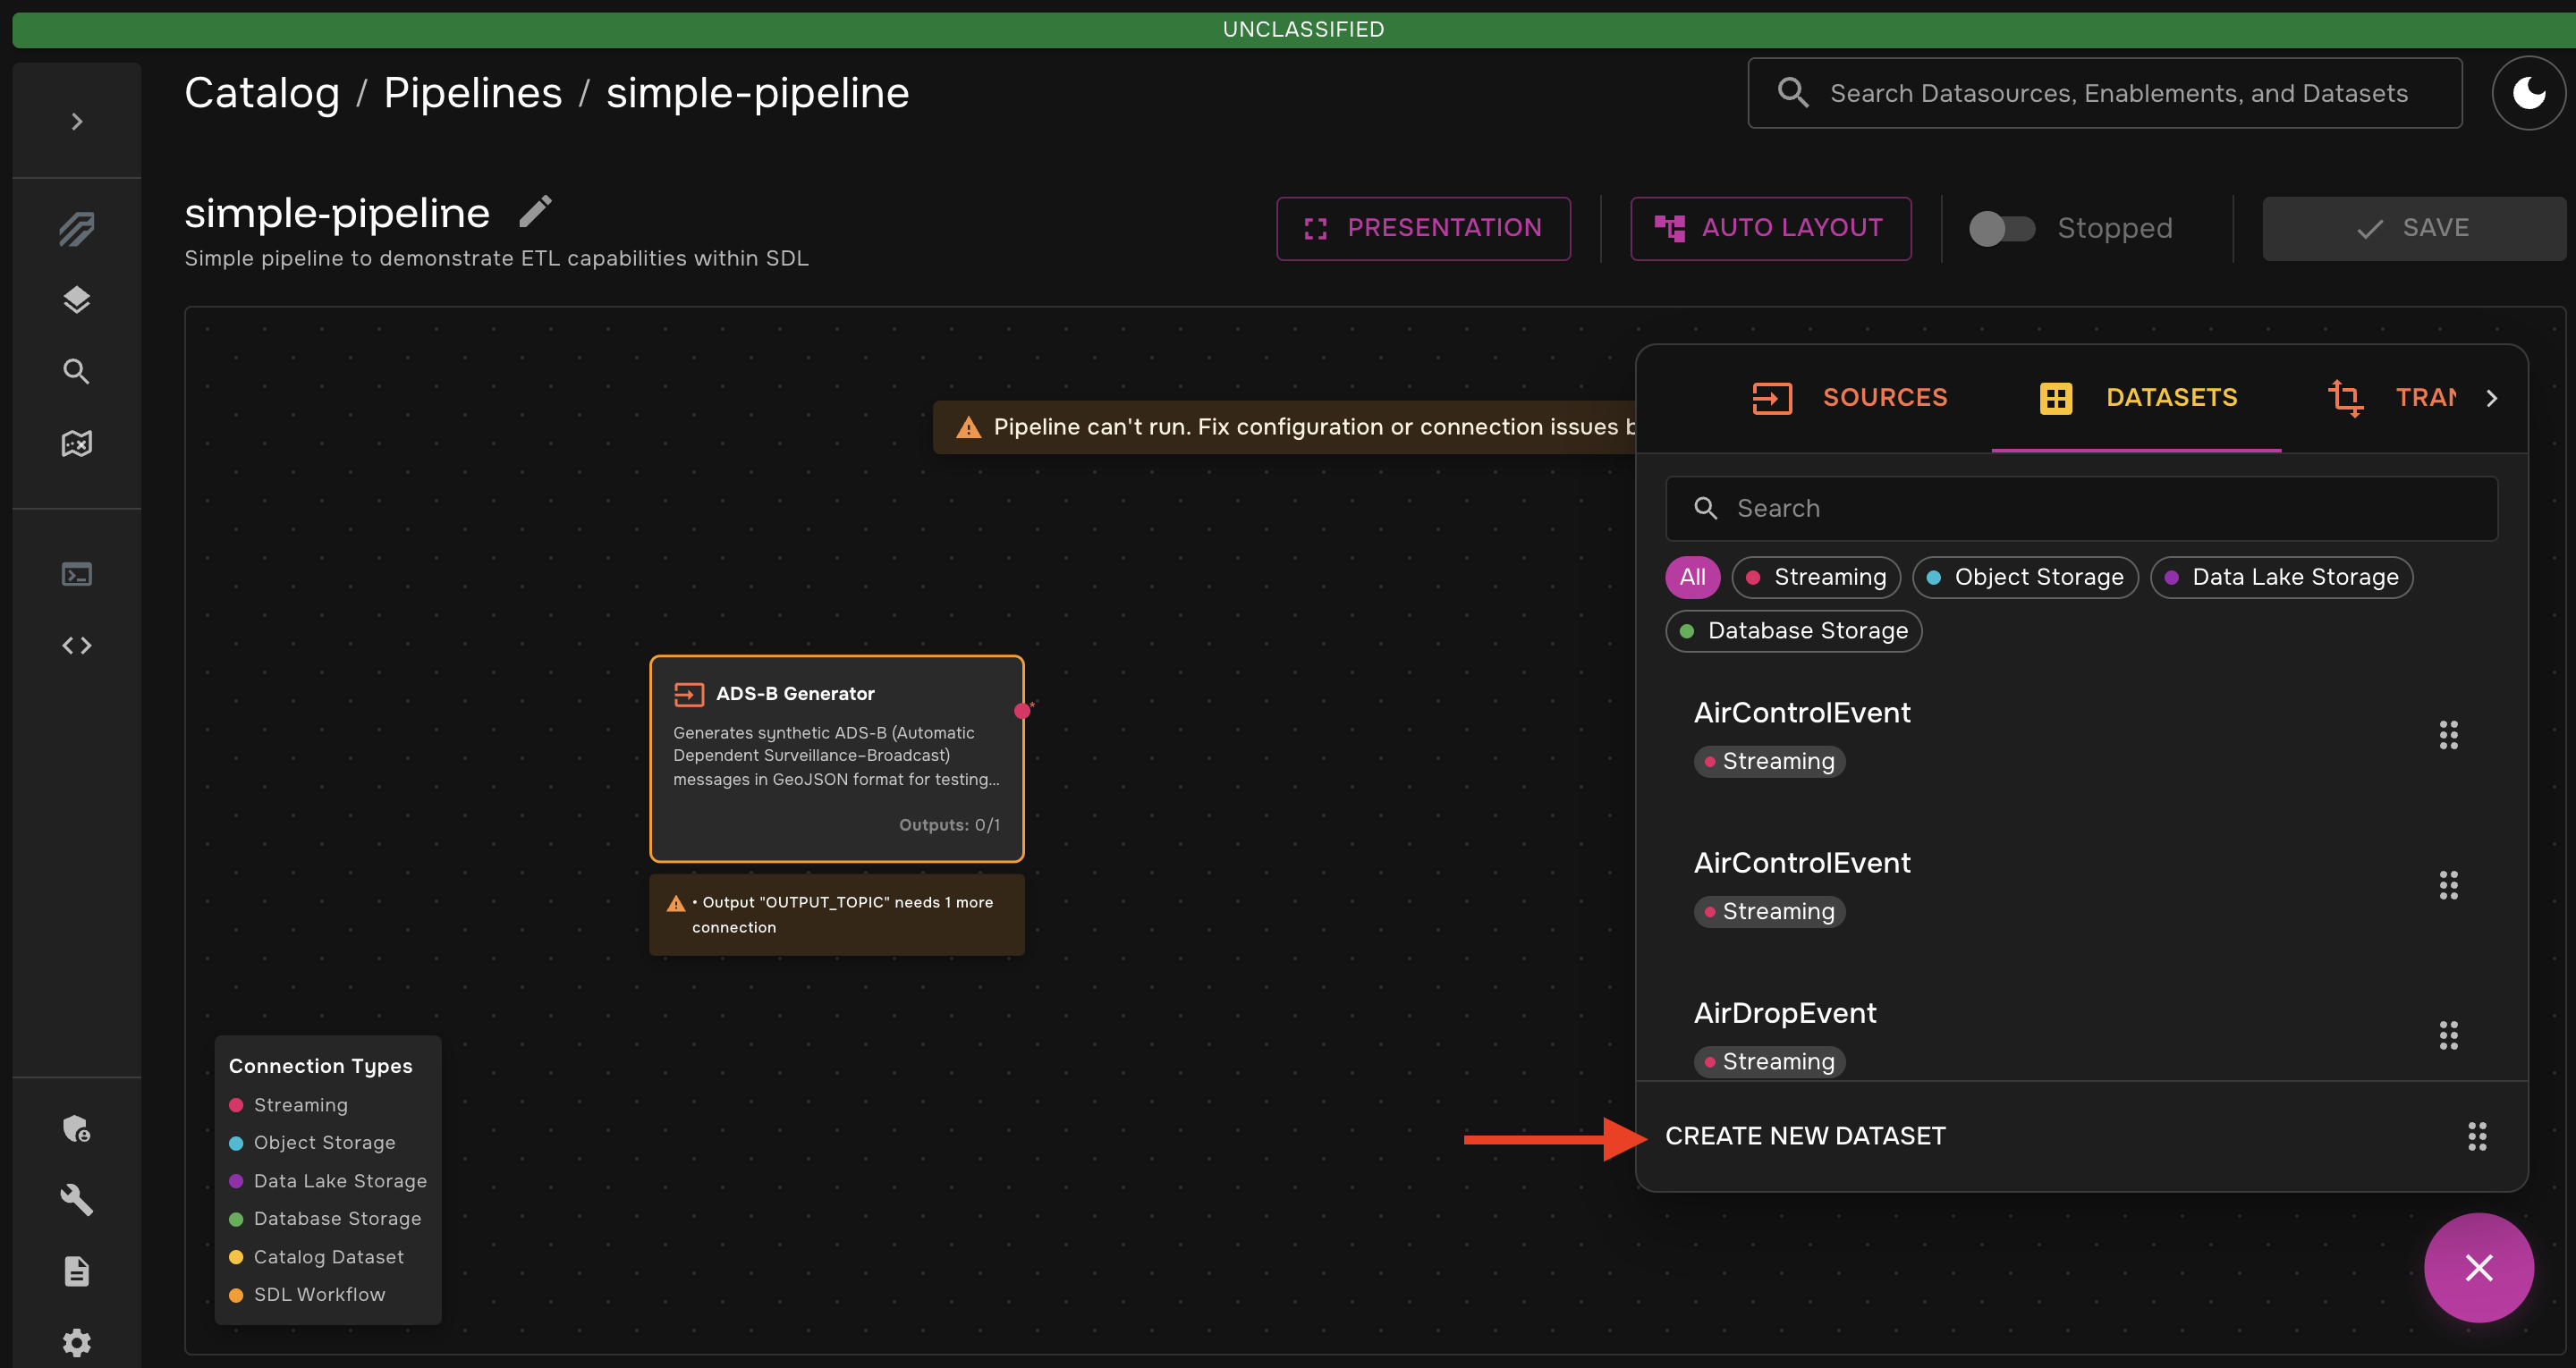
Drag that transformer onto the canvas. Then, from the "Datasets" tab, drag the "Create New Dataset" box onto the canvas.
-
Click on the dataset. The configuration window should pop up. Under "Advanced Properties", select "Streaming" for the resource type and enter
example-adsb-syntheticfor the resource name. When finished, be sure to scroll down and click "Done" in the bottom right corner.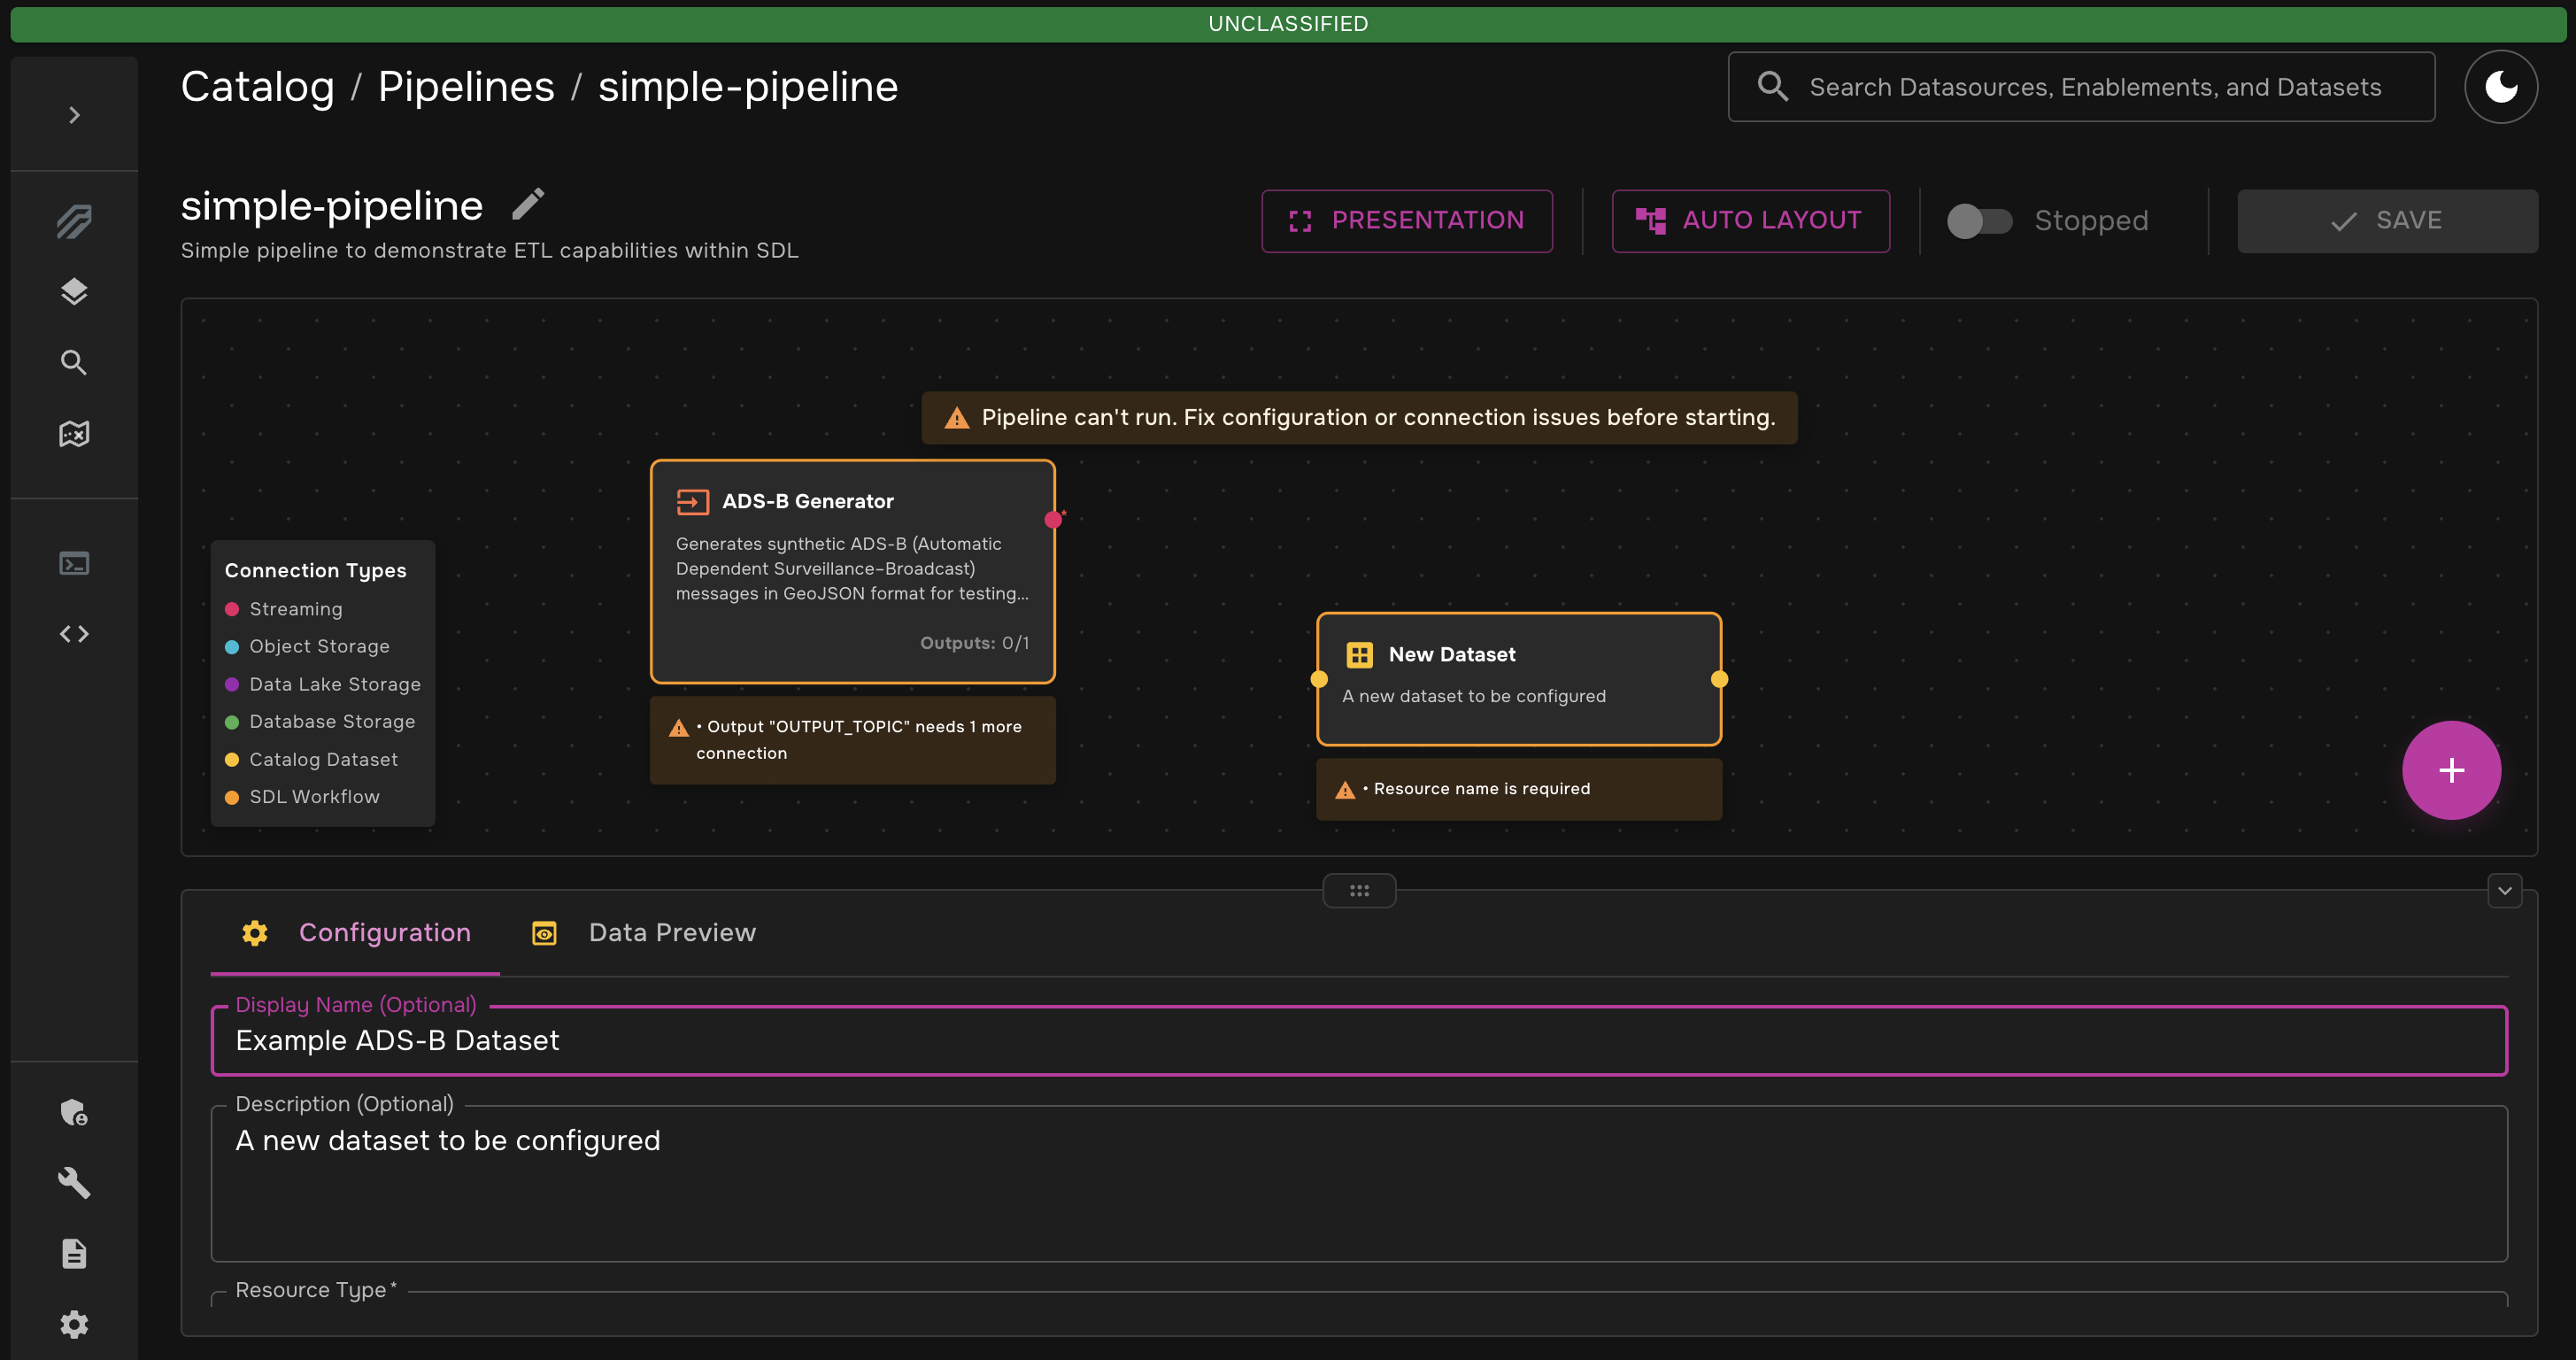
You will see that advanced Kafka Configuration options are available. You can leave those as the default values for this example, but they are a good tool to have for more complex use cases. -
Connect the two nodes and hit "Save Changes". Click on the Dataset → Data Preview. You should have something that looks like this:
you may see a message before you hit "Save Changes" that says Storage Not Found. This is normal. The kafka topic will be created when the pipeline is run for the first time. 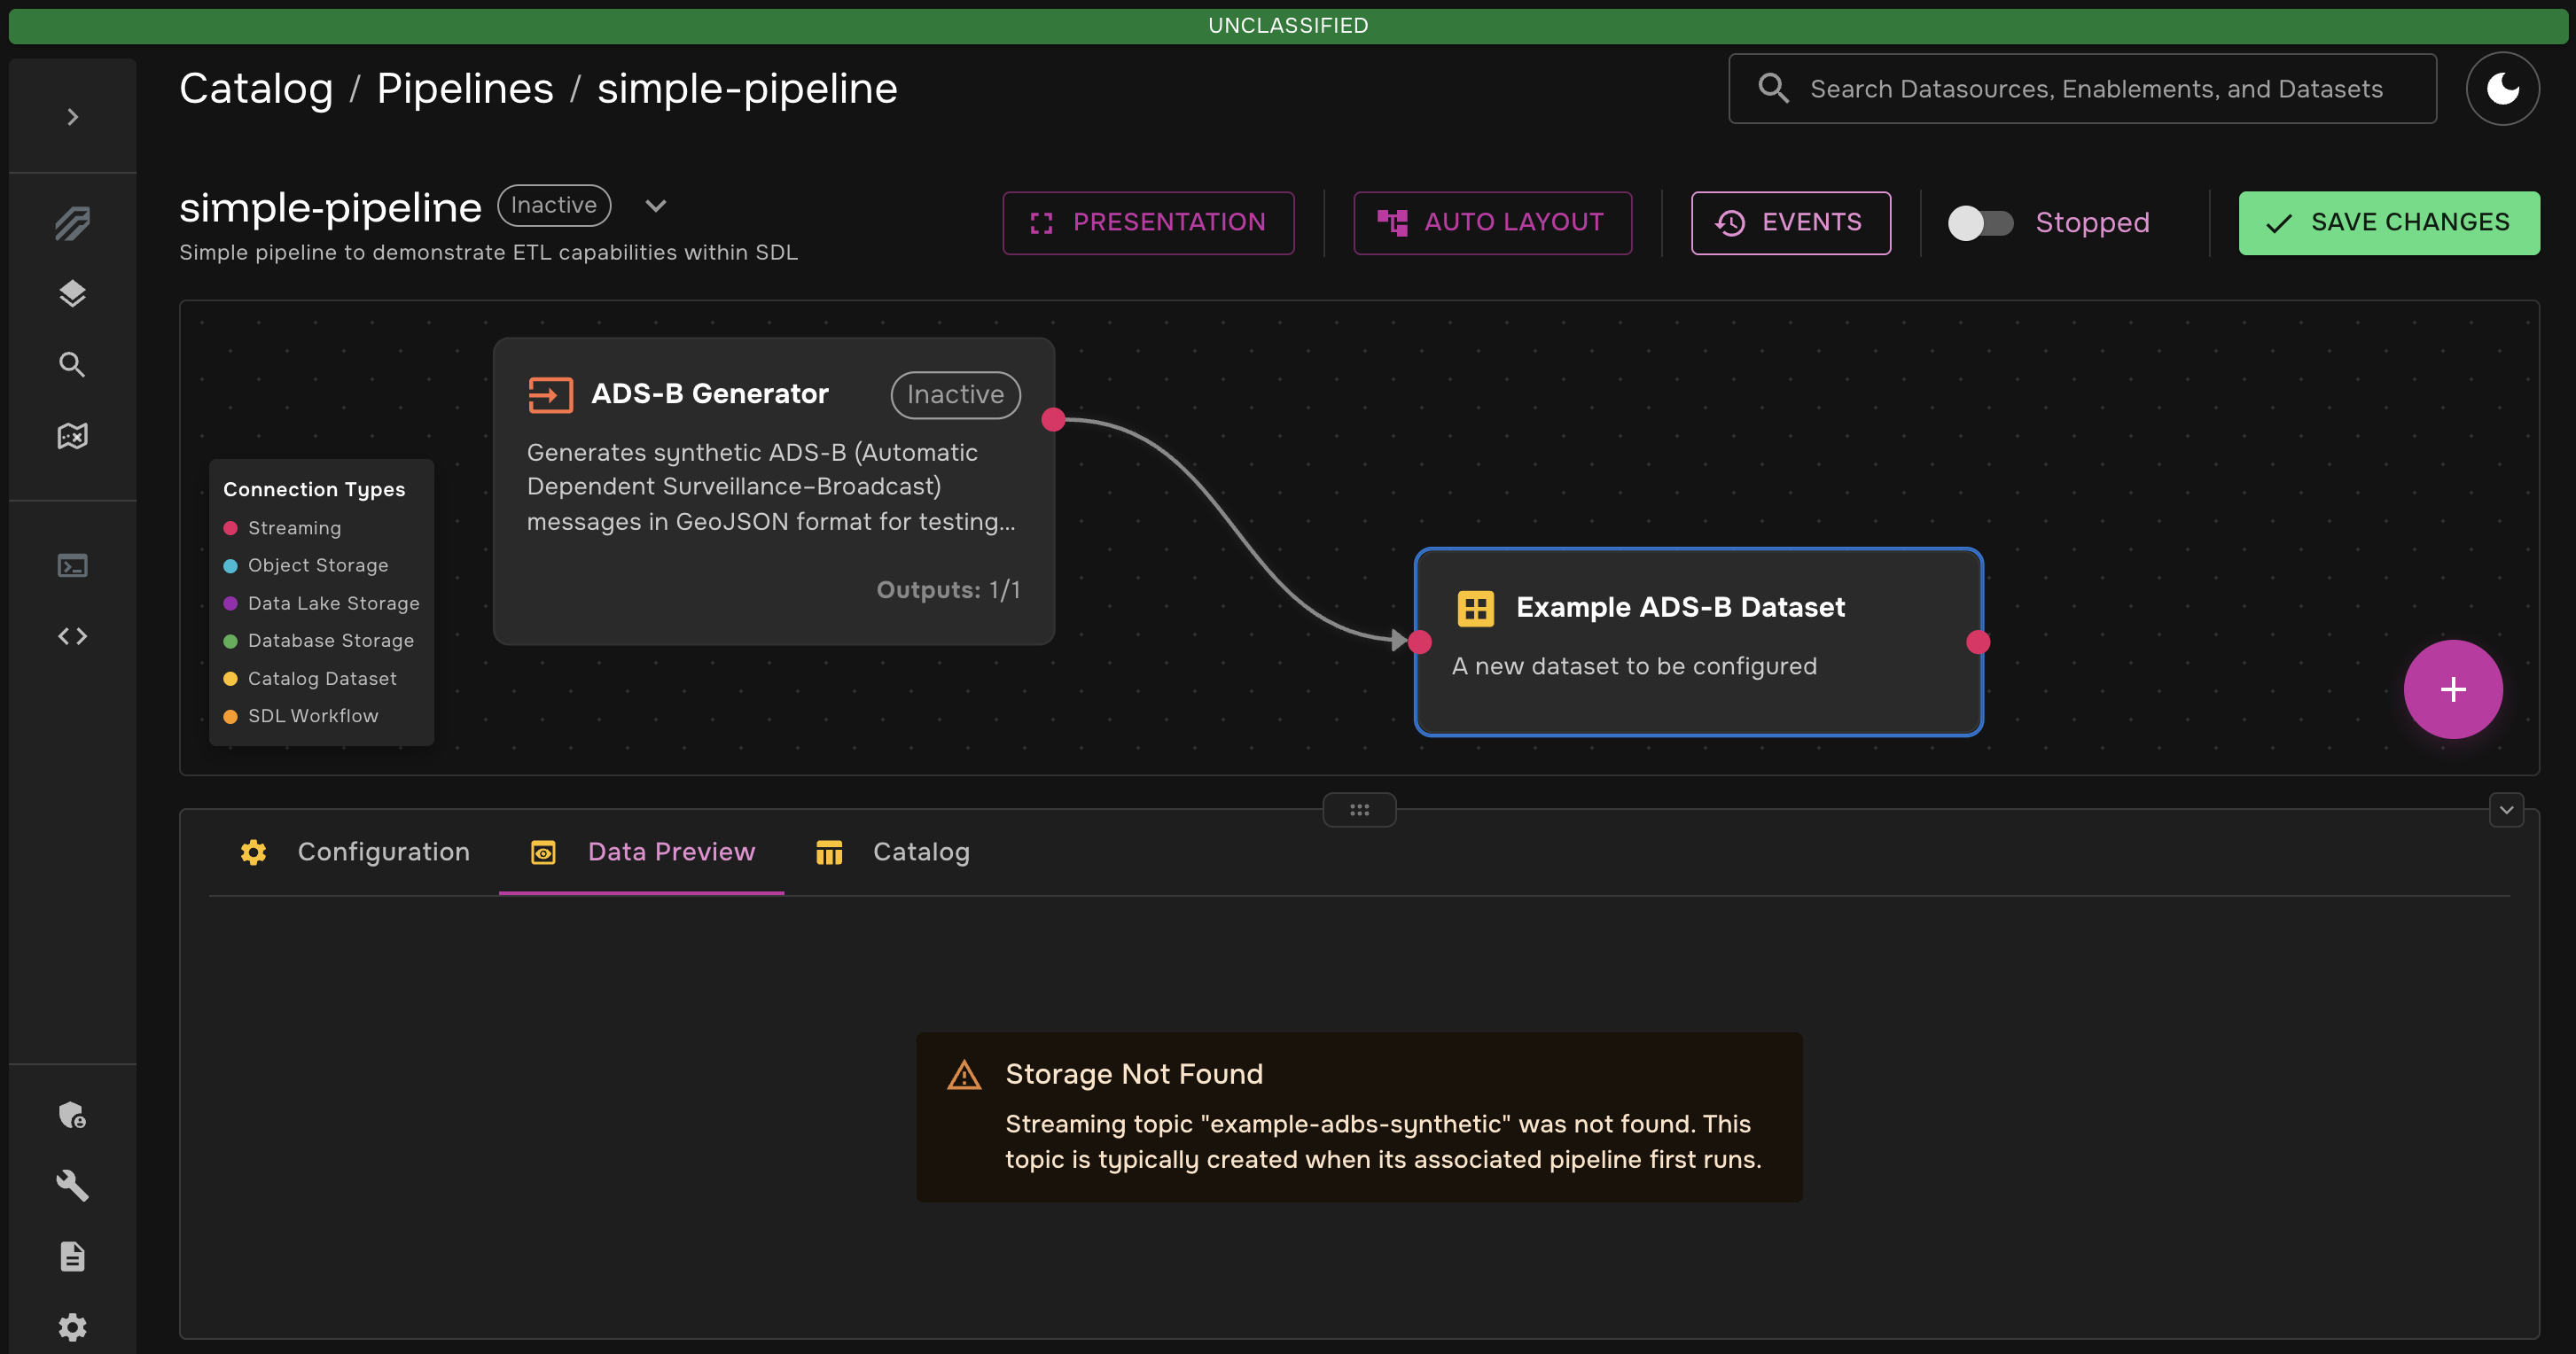
Step 3: Add a Transformer to the Pipeline
Now that we have data in our pipeline, it is time to perform an ETL (Extract, Transform, Load) operation on the data. As previously mentioned, we will use the Dynamic Python Transformer to extract the synthetic data, perform a simple transformation, and load that data into a new dataset.
-
Add the Dynamic Python Transformer
-
Add another new dataset. This will be the dataset that holds the transformed data. Just like you did in Step 2, fill out and save the properties:
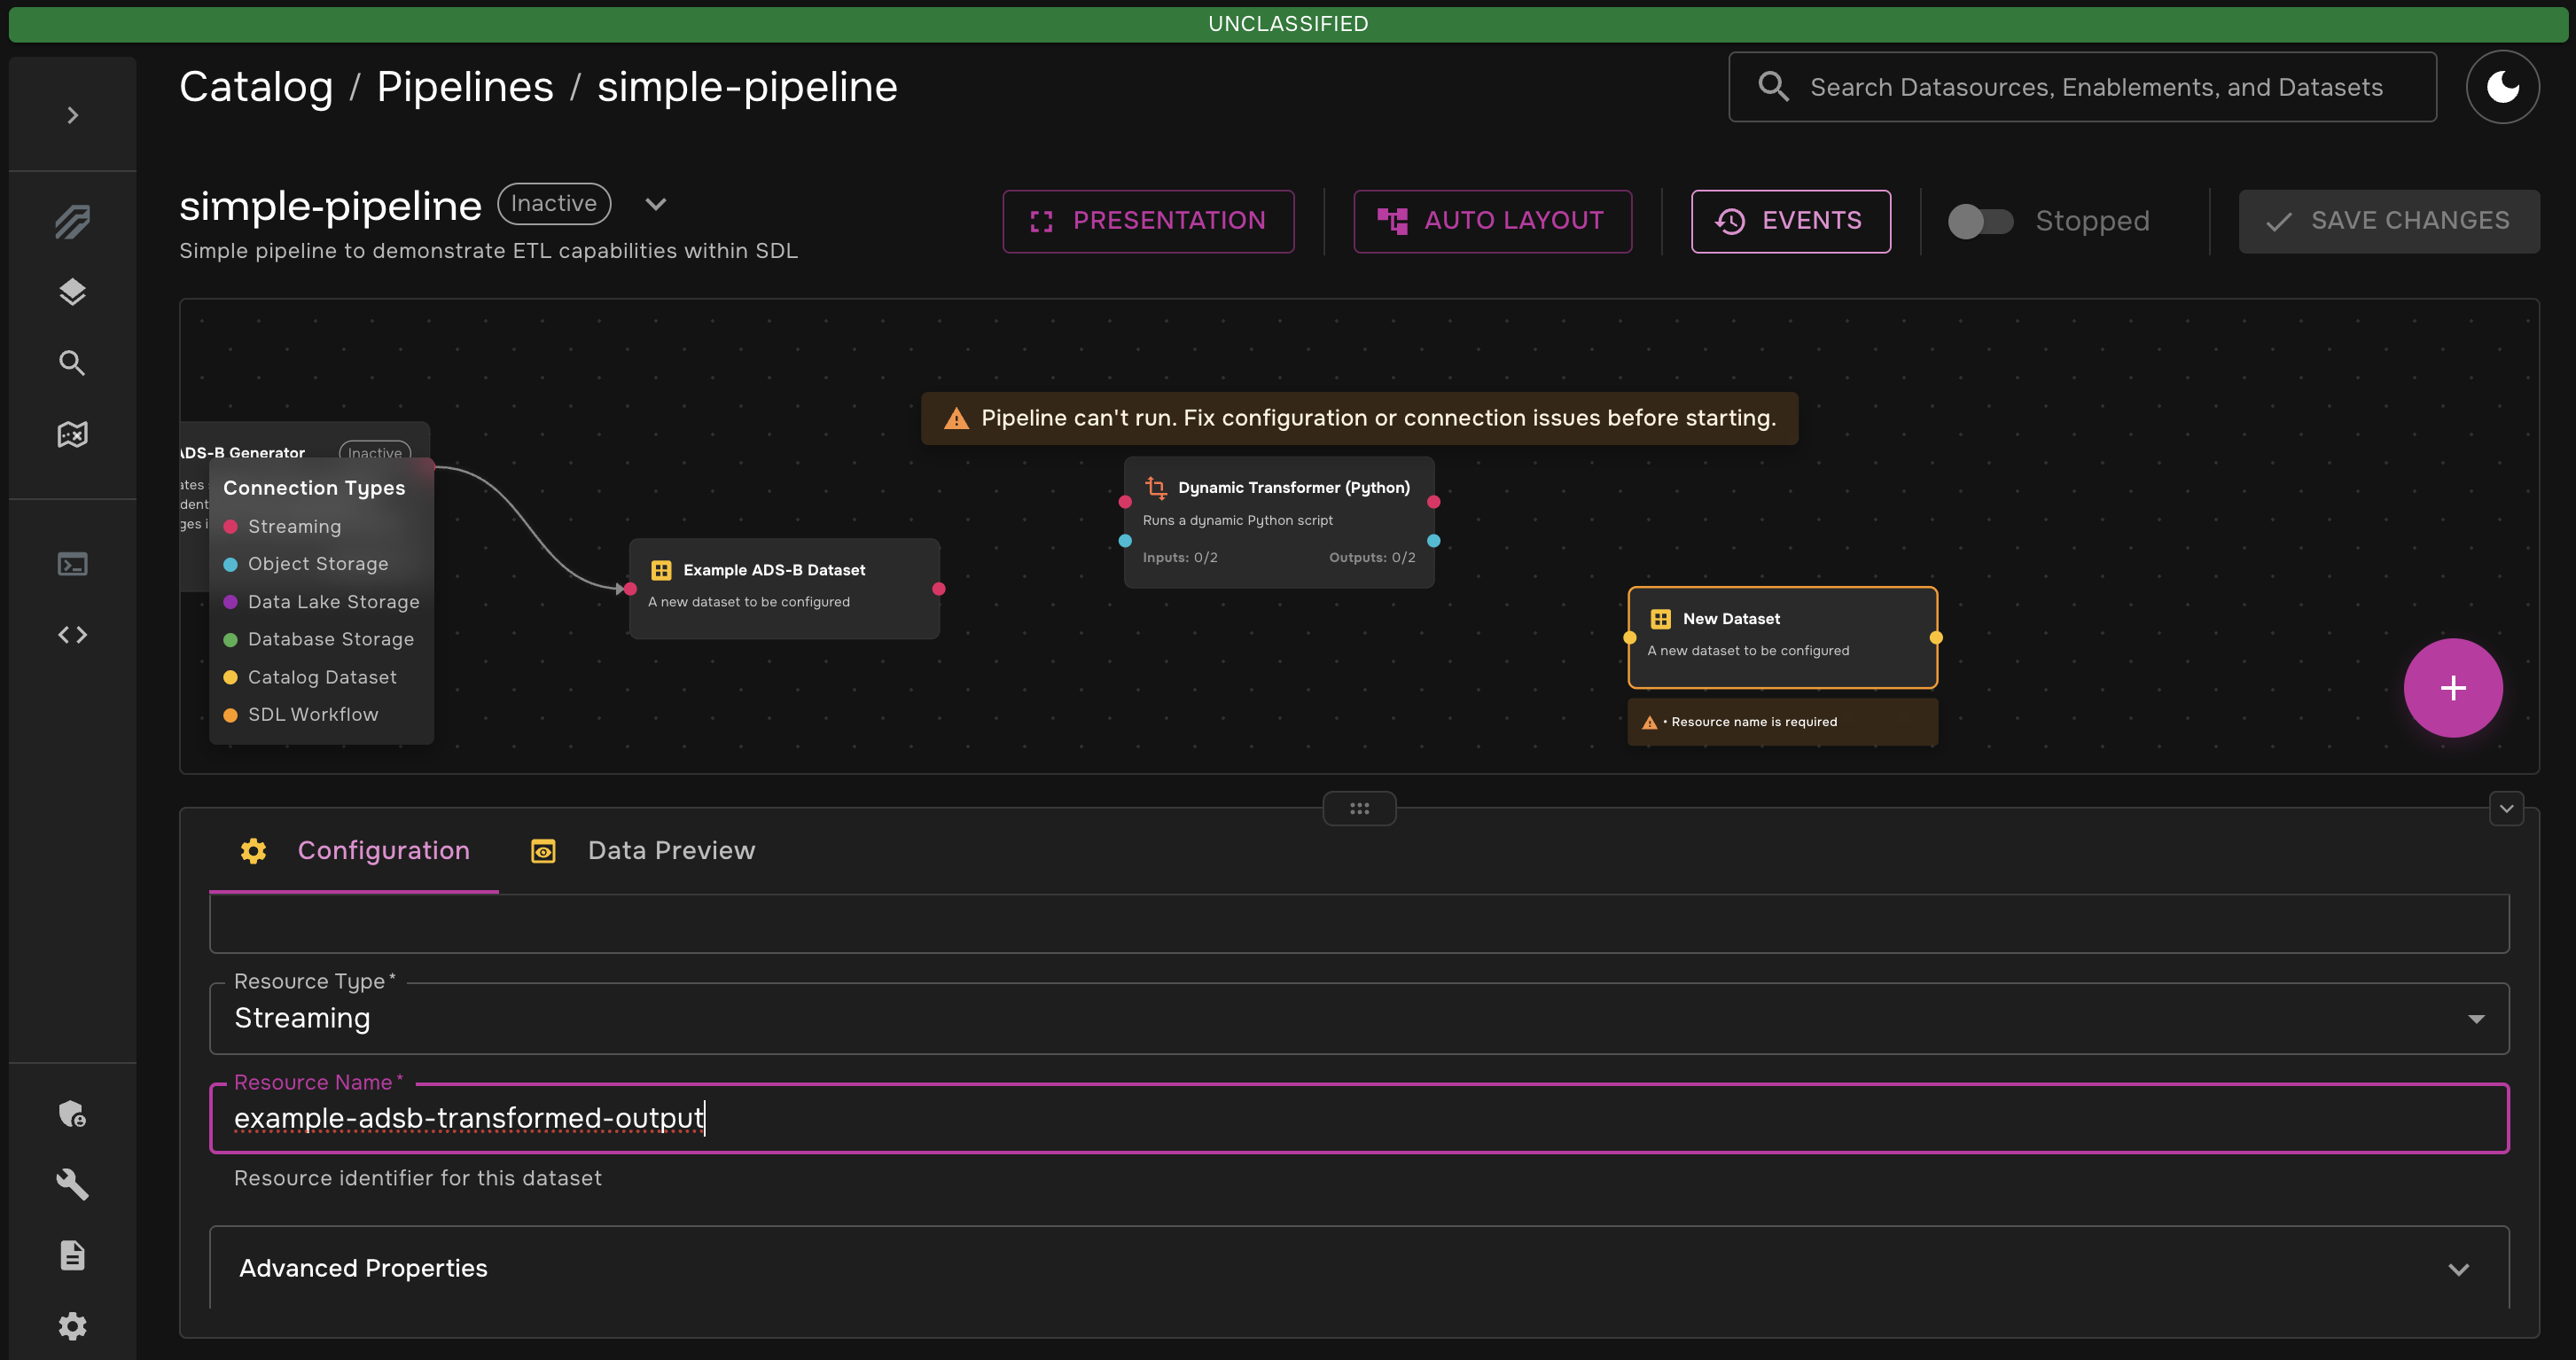
-
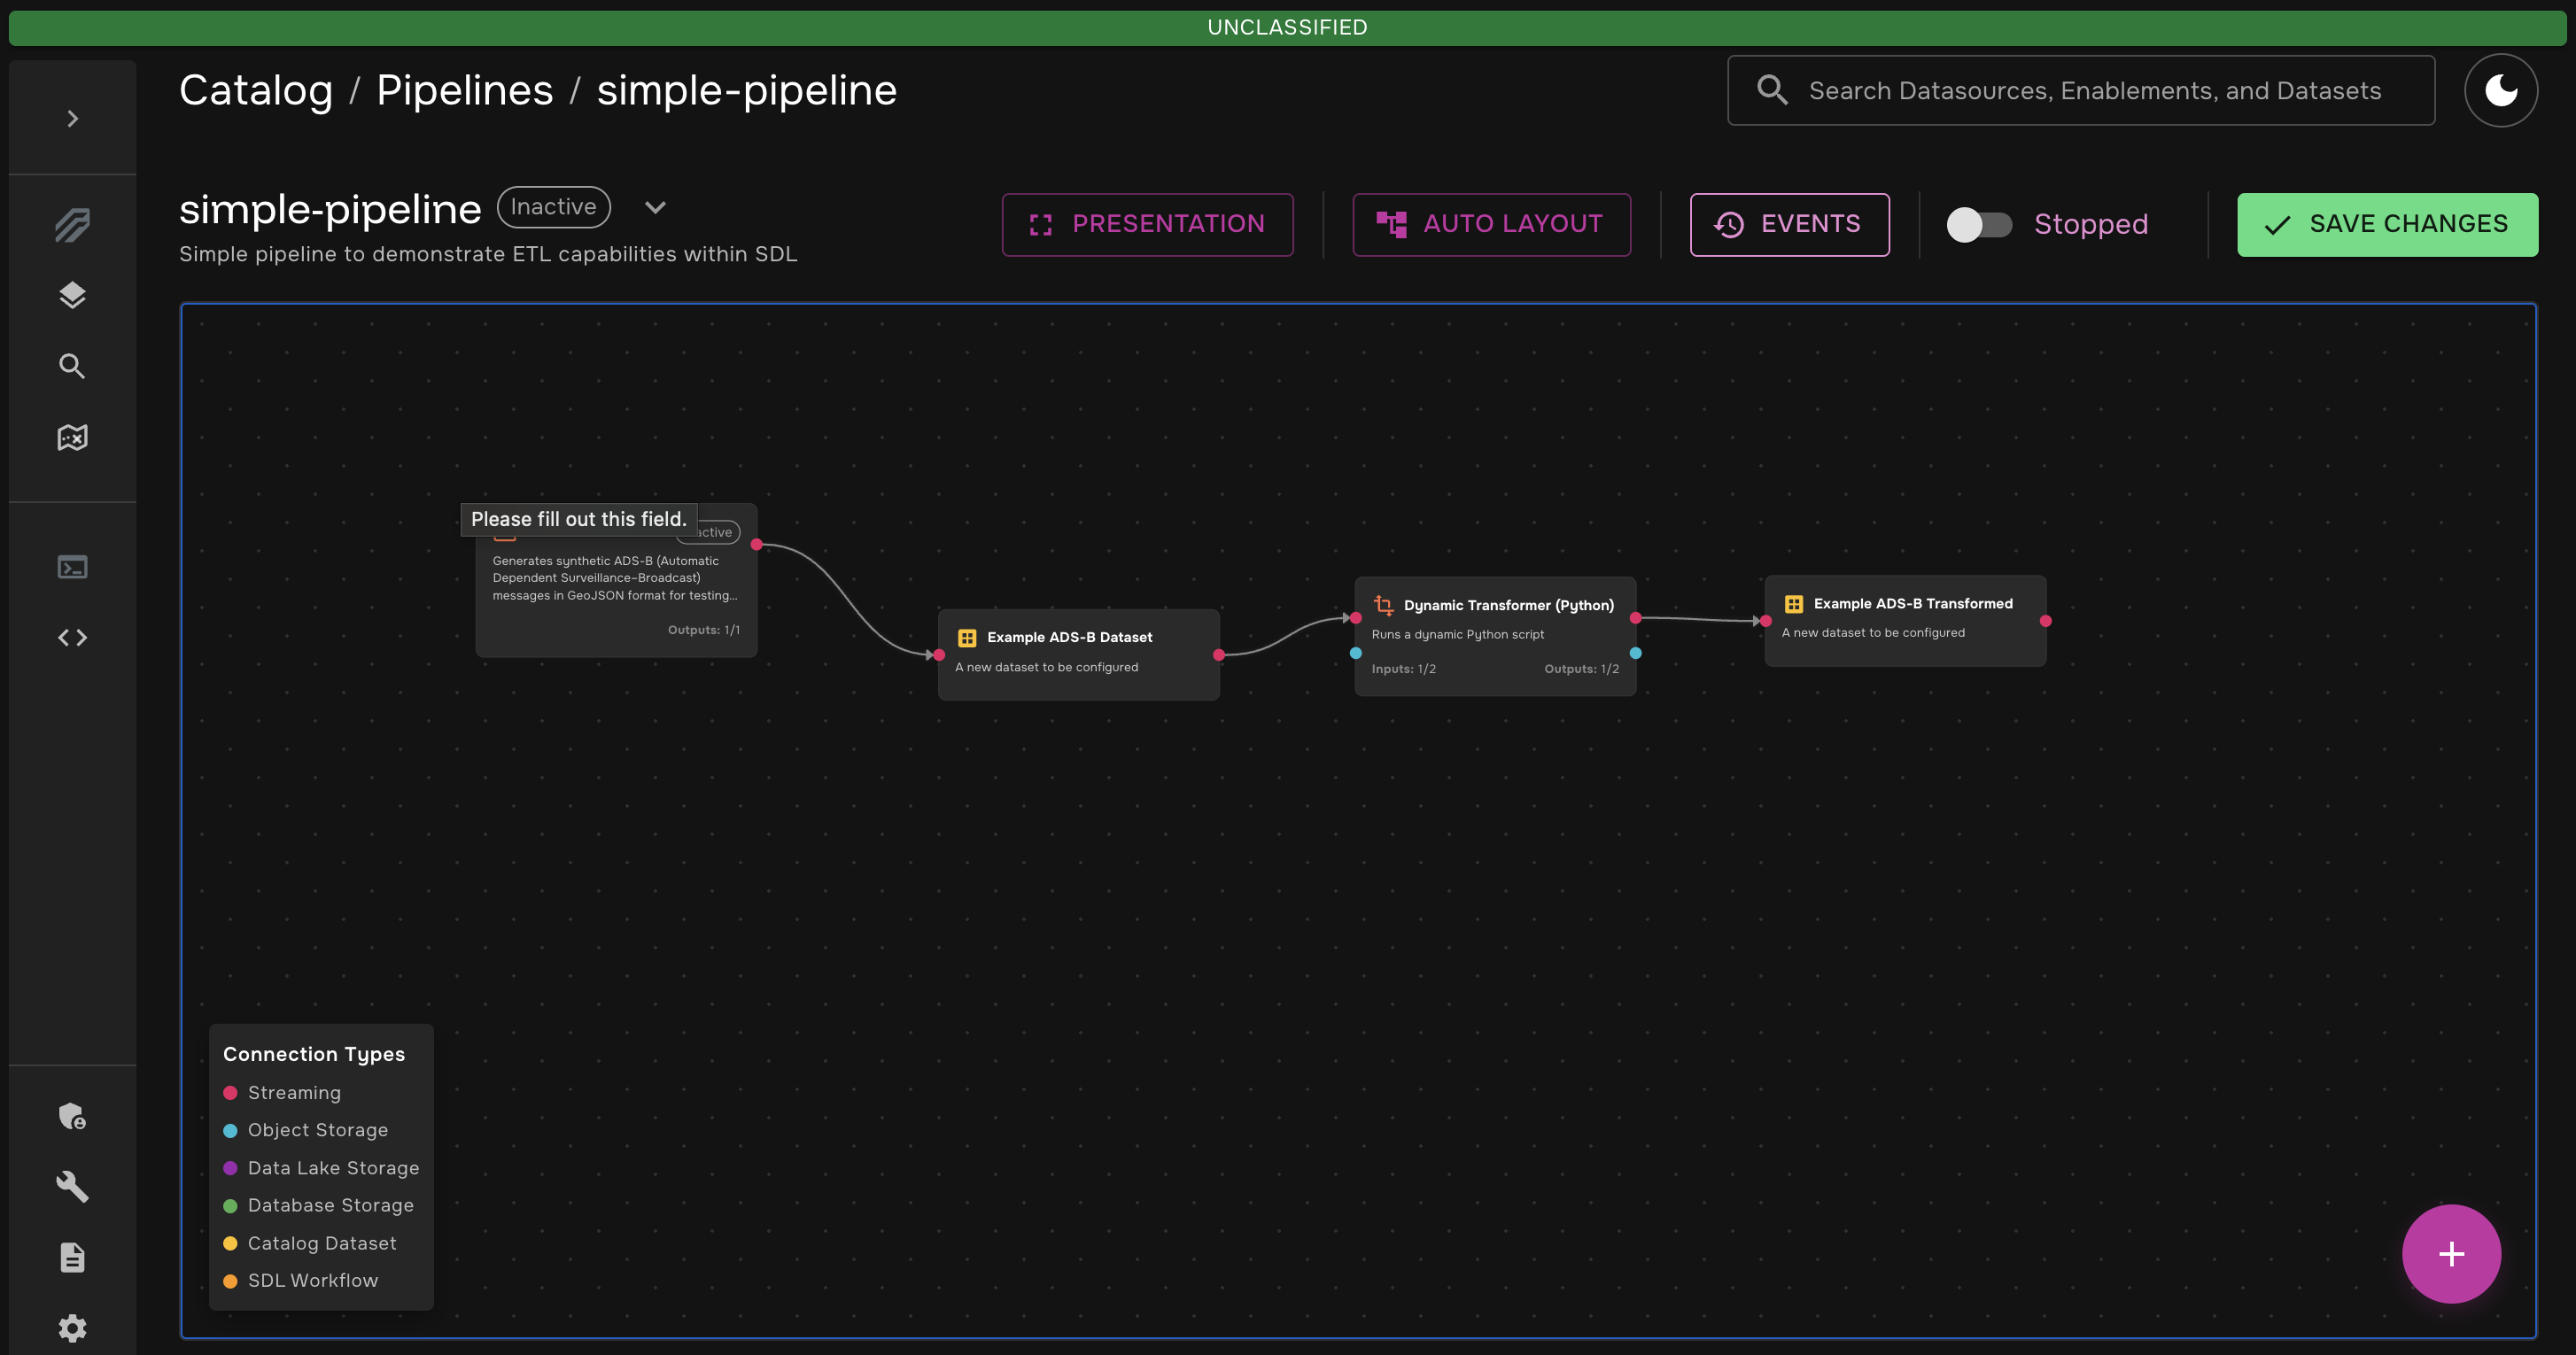
Connect the nodes. You will be left with something like this:
Step 4: Write the Transformation
You now have all the nodes you need for this pipeline! The last thing you need to do before running the pipeline is to apply the actual transformation in the Dynamic Python Transformer.
-
Click on the
Dynamic Transformer (Python)node and navigate to the "Code Editor" tab. You will see that by default, the transformer will pass each message through to the output dataset without modification. We need to change the code to modify the data. Replace the default script with the following:import os import json from df_daft_py.kafka.kafka import start_transform_loop def transform(data) -> dict: # Get altitude from properties alt = data.get("properties", {}).get("altitude", 0) # Classify into flight level bands if alt < 10000: flight_level = "low" elif alt <= 35000: flight_level = "cruise" else: flight_level = "high" # Add the new field data["properties"]["flight_level"] = flight_level return data def main(): src_topic = os.getenv("SOURCE_KAFKA") dest_topic = os.getenv("DEST_KAFKA") start_transform_loop(src_topic, dest_topic, transform)This transformation is simple - it checks the
altitudefield of the input message, determines theflight_level(low,medium, orhigh), and adds theflight_levelto the data. -
Click the "Save Changes" button in the top right corner
Step 5: Run the Pipeline and View Data
You are now ready to start the pipeline!
-
Click the start toggle in the top right corner
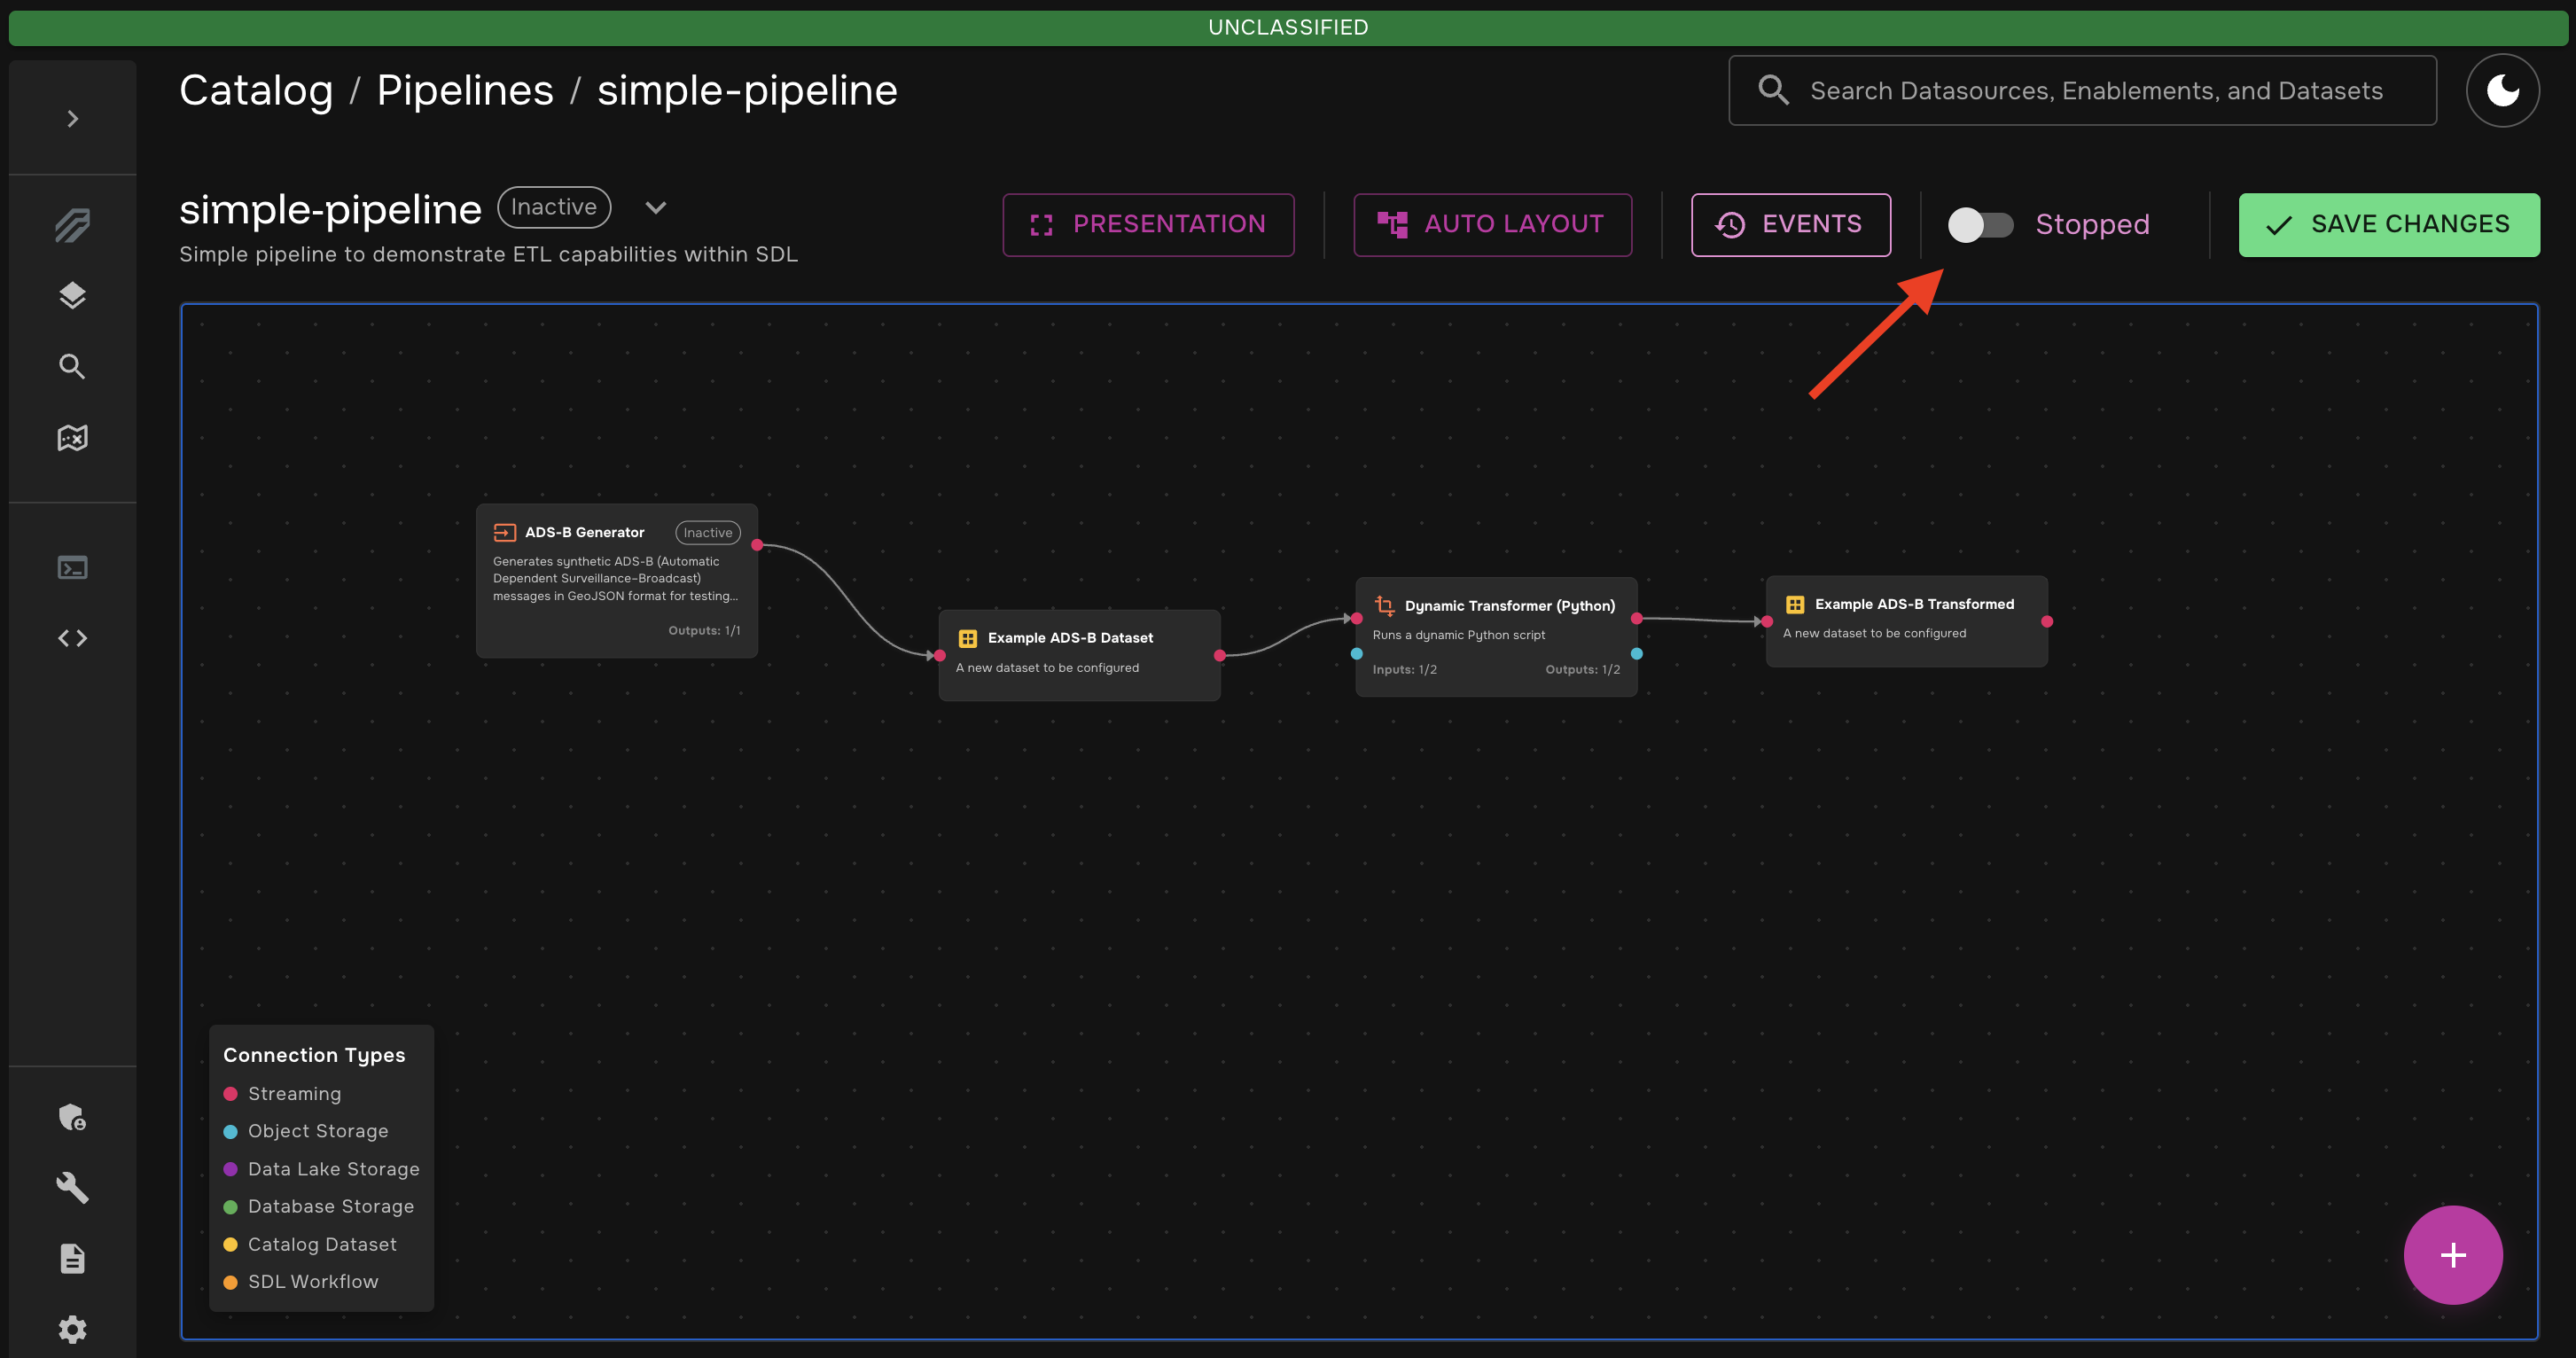
-
Wait for a few seconds while the pipeline spins up.
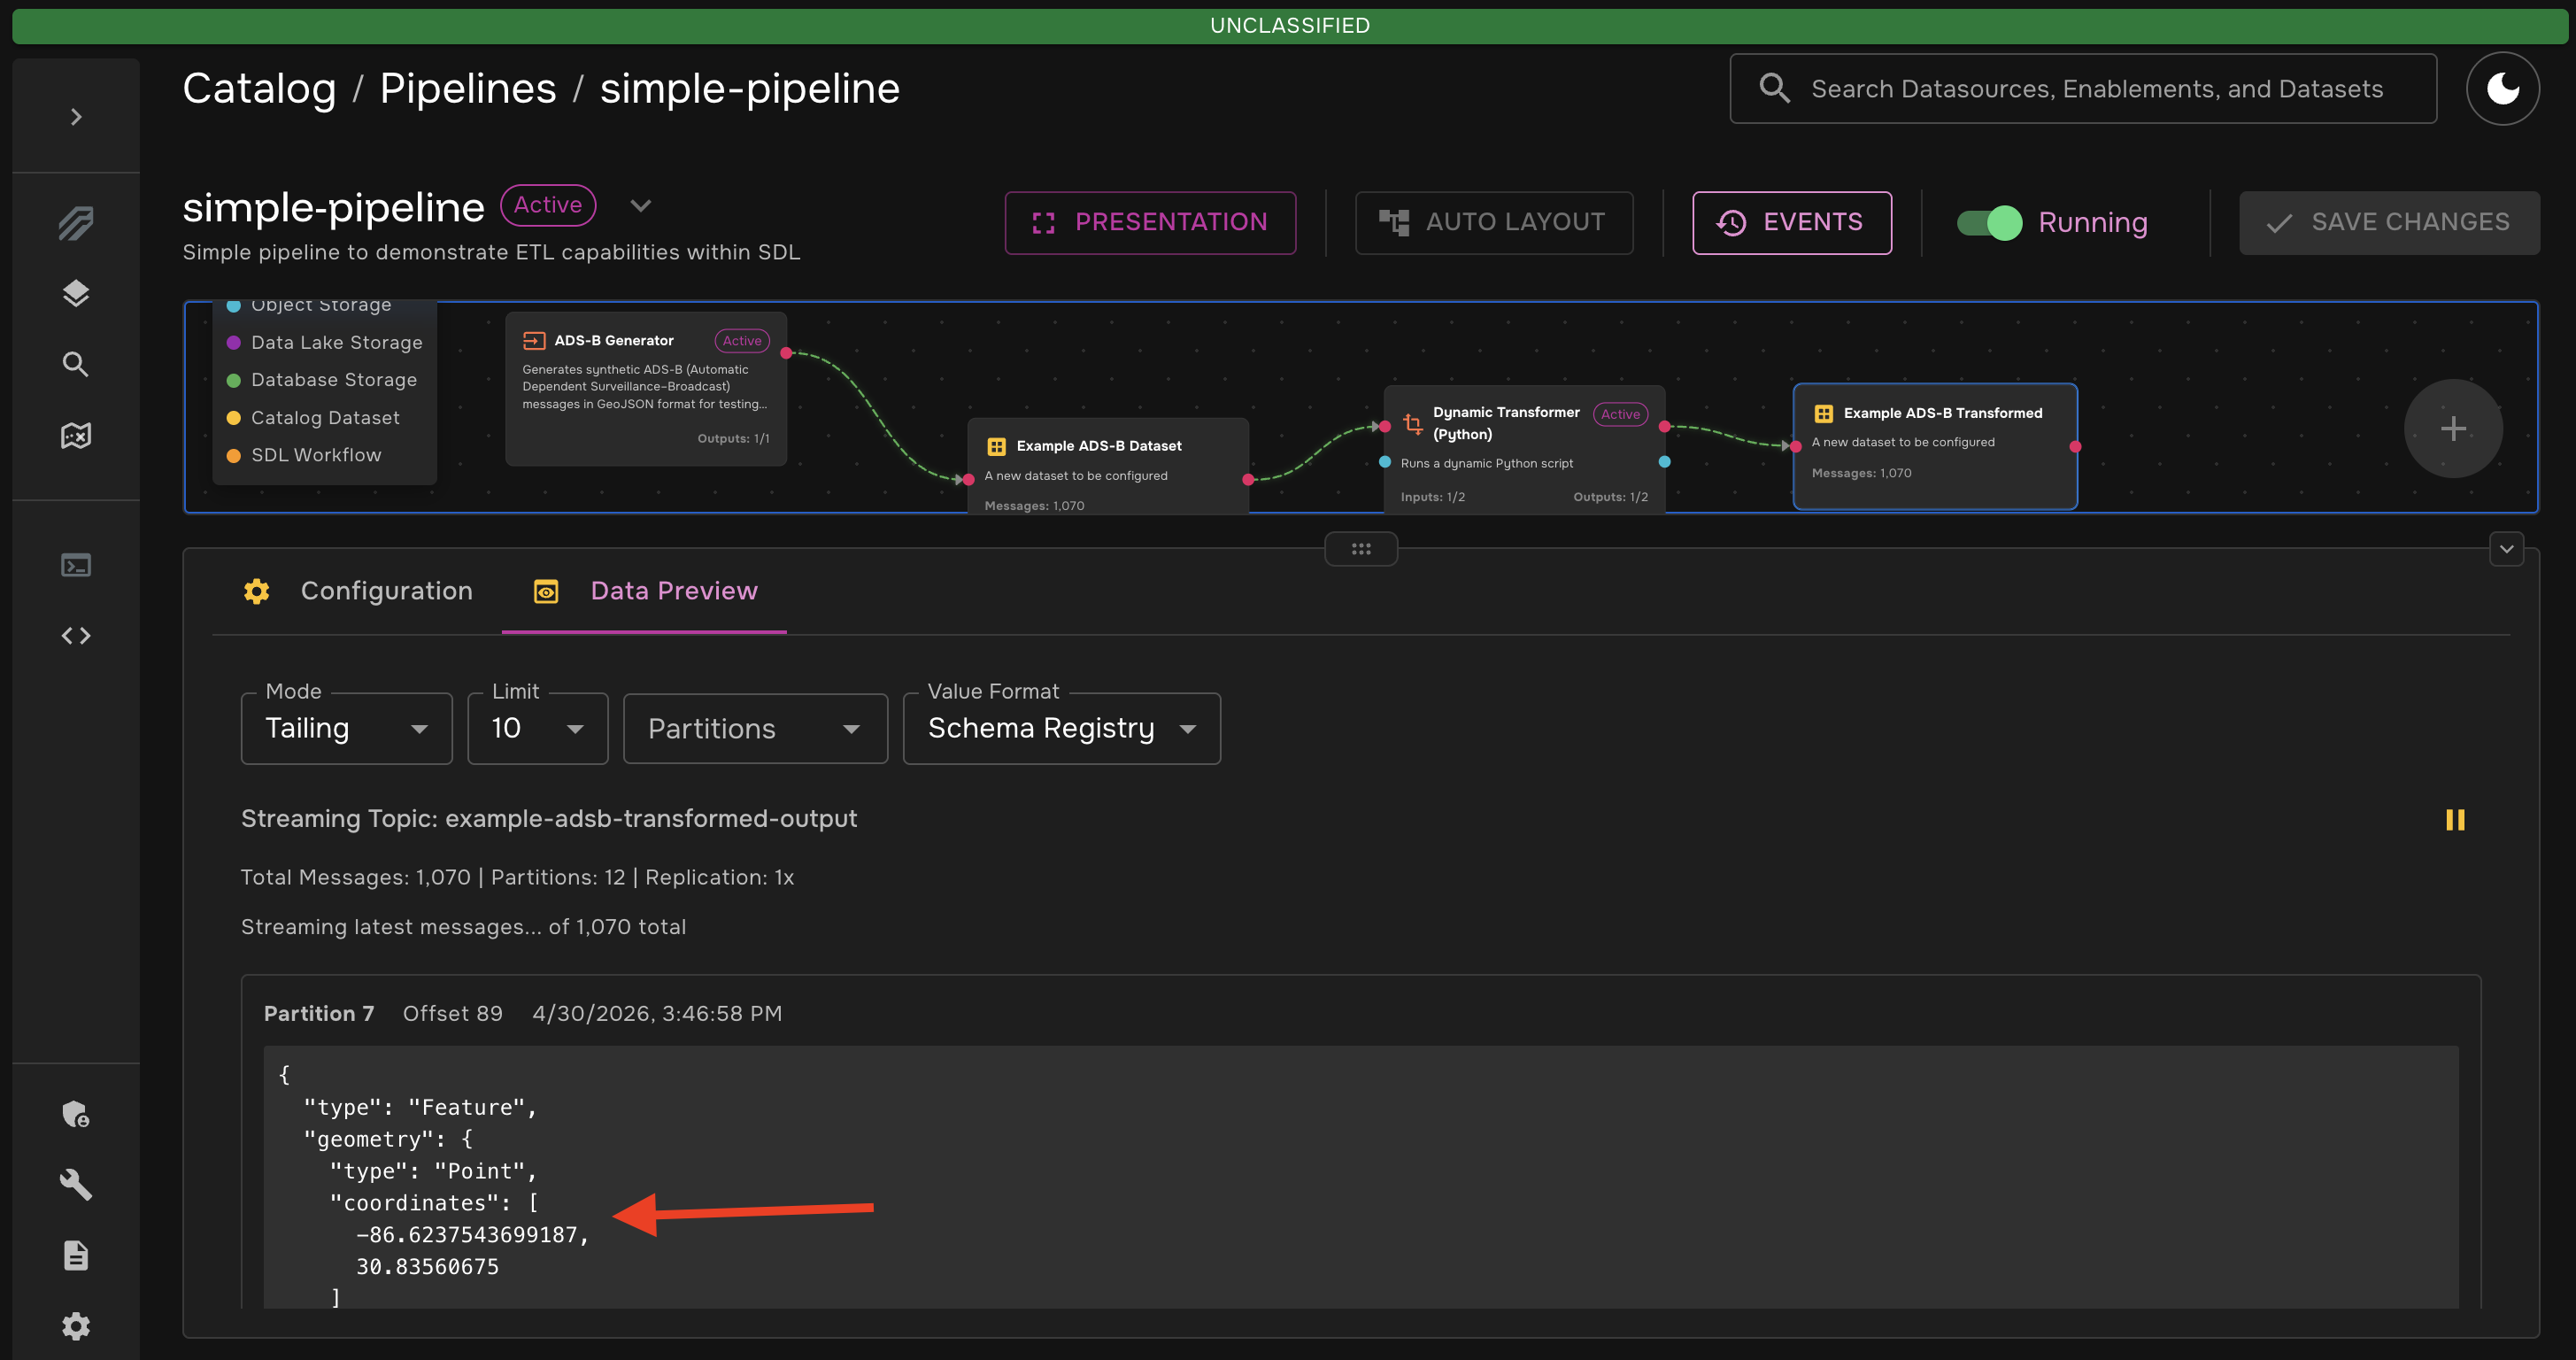
You can click on a transformer node and navigate to the "Logs" tab to view the logs for that stage in the pipeline. This is very useful for debugging. -
You should see messages start to flow through the datasets. You can inspect the messages in each dataset right in the pipeline canvas. If you click on the "Python Transformed Output" dataset to view its messages, you will see that the transformation has been applied (it may be helpful to pause the data stream so that you can easily read the messages).
Key Takeaways
This example gave you hands-on experience in using SDL’s data pipelines, including:
-
Synthetic Data Generation: Using one of SDL’s built-in synthetic data generators to build a stream of mock ADS-B data.
-
Pipeline Architecture: Building a full ETL pipeline with multiple transformers and datasets.
-
Dynamic Transformations: Writing your own data transformation natively in the SDL pipeline canvas.
-
Live Data Inspection: Viewing the completed data transformation directly in SDL’s web interface.